DIY Concrete Crack Repair Tips for Driveways and Walkways
DIY Concrete Crack Repair Tips for Driveways and Walkways
Reading time: 14 minutes
That spiderweb crack stretching across your driveway didn’t appear overnight — and ignoring it definitely won’t make it disappear. Whether you’re dealing with a hairline fracture from last winter’s freeze-thaw cycles or a gaping fault line that’s swallowing your driveway’s curb appeal whole, concrete crack repair is one of those DIY projects that rewards early action and punishes procrastination.
Here’s the straight talk: most homeowners overpay for professional concrete repairs that are entirely within their own skill set. In 2026, with the average driveway resurfacing project costing between $1,800 and $4,500 depending on your region, knowing how to competently address cracks yourself can save you serious money — and extend your concrete’s life by a decade or more.
This guide is designed to walk you through everything: diagnosing the crack type, selecting the right product, prepping the surface properly, and executing a repair that actually holds. No fluff, no generic advice — just the kind of detail-oriented guidance that gets the job done right the first time.
Table of Contents
- Understanding Why Concrete Cracks
- Identifying the Type of Crack You’re Dealing With
- Tools and Materials You’ll Actually Need
- Step-by-Step Repair Process
- Comparing Repair Products: What Works Best
- Common Mistakes and How to Avoid Them
- Prevention Strategies That Actually Work
- Frequently Asked Questions
- Your Driveway Revival Roadmap
Understanding Why Concrete Cracks
Concrete is one of the most durable materials used in residential construction — but it has an Achilles’ heel: it doesn’t flex. As your driveway or walkway responds to temperature changes, soil movement, moisture intrusion, and the daily grind of vehicle weight, stress accumulates until the surface gives way. Understanding the root cause isn’t just academic; it directly informs which repair strategy will actually last.
According to the Portland Cement Association’s 2025 residential infrastructure report, approximately 73% of residential concrete driveways show visible cracking within the first 10 years of installation. More striking, roughly 40% of those cracks are exacerbated — or caused outright — by improper installation: insufficient base preparation, wrong water-to-cement ratios, or missing control joints.
The four primary culprits behind concrete cracking are:
- Thermal expansion and contraction: Concrete expands in heat and contracts in cold. Without adequate expansion joints, it cracks at its weakest points.
- Moisture and freeze-thaw cycles: Water seeps into micro-pores, freezes, expands by about 9%, and fractures the surrounding material from within.
- Soil settlement and erosion: When the substrate beneath shifts or washes away, the concrete slab loses support and cracks under its own weight.
- Overloading: Heavy vehicles — especially delivery trucks or RVs parked repeatedly in the same spot — exceed the load tolerance of standard 4-inch residential concrete slabs.
Knowing your culprit doesn’t just help you repair the crack — it helps you prevent the next one from forming in the same place.
Identifying the Type of Crack You’re Dealing With
Not all cracks are created equal. A hairline surface crack and a structural fault line require fundamentally different approaches. Misdiagnosing the crack is the number one reason DIY repairs fail within a year.
Surface-Level and Cosmetic Cracks
Hairline cracks are typically less than 1/8 inch wide and shallow — often just penetrating the surface layer. These are the most common type and the easiest to fix. They’re usually caused by rapid surface drying during curing (called plastic shrinkage cracking) or minor thermal movement. While they look alarming, they rarely threaten the structural integrity of your slab.
Crazing refers to a network of fine, interconnected cracks resembling a dried mud flat. This is almost always a cosmetic issue caused by rapid surface drying or improper finishing techniques. It can be sealed but typically doesn’t require deep intervention.
Structural and Deeper Cracks
Wide cracks (1/4 inch or wider) are more serious and suggest movement within the slab or substrate. These require flexible repair compounds that can accommodate ongoing movement, not rigid mortars that will simply crack again.
Heaving cracks — where one side of the crack is visibly higher than the other — indicate soil pressure from below, often caused by tree roots or expansive clay soils absorbing moisture. These may require mudjacking or slab leveling in addition to surface repair.
Edge cracks along the perimeter of a driveway frequently signal inadequate base support. The edges of a slab are naturally the most vulnerable since they lack the confinement of surrounding concrete.
“The most expensive repair mistake homeowners make is applying a surface filler to a structural crack. You’re essentially putting a bandage on a broken bone. The crack will return — usually worse — within one to two freeze-thaw seasons.”
— Dr. Maria Lenton, Civil Engineering Consultant, National Concrete Research Institute, 2025
Quick Rule of Thumb: Insert a quarter into the crack. If it fits with room to spare, you’re looking at a structural issue that needs a thicker repair material and possibly professional assessment of the underlying cause.
Tools and Materials You’ll Actually Need
One of the most common DIY repair failures comes from using the wrong product for the job or skipping proper preparation tools. Here’s the honest list — no unnecessary purchases, no missing essentials.
Essential Tools
- Cold chisel and hammer (or angle grinder with diamond blade): For undercutting the crack edges to create a mechanical lock for the filler
- Wire brush: For cleaning loose debris from the crack interior
- Shop vacuum: Critical for removing all dust and debris before applying any filler
- Caulk gun: For polyurethane or epoxy cartridge-based fillers
- Margin trowel or putty knife: For smoothing and feathering repair compounds
- Pressure washer or garden hose with nozzle: For deep cleaning the repair area
- Safety glasses and gloves: Non-negotiable — concrete dust and repair chemicals are hazardous
Choosing Your Repair Material
This is where most homeowners get overwhelmed at the hardware store. The selection in 2026 is broader than ever, with newer polymer-modified products offering significantly better bonding and flexibility than traditional cement-based patching compounds from a decade ago.
- Polyurethane sealant: Best for cracks up to 1/2 inch wide that are still experiencing movement. Flexible, durable, and paintable.
- Epoxy concrete filler: Ideal for structural cracks in stable slabs. Bonds extremely well but is rigid — avoid in cracks that still move.
- Latex/vinyl concrete patch: Good all-purpose option for cracks 1/4 to 1 inch wide. Blends well aesthetically and accepts stain or sealer.
- Hydraulic cement: Only for actively leaking cracks in wet conditions. Sets in minutes and stops water intrusion fast.
- Self-leveling polyurethane caulk: Perfect for horizontal surfaces like driveways where you want the material to flow into the crack under gravity.
Step-by-Step Repair Process
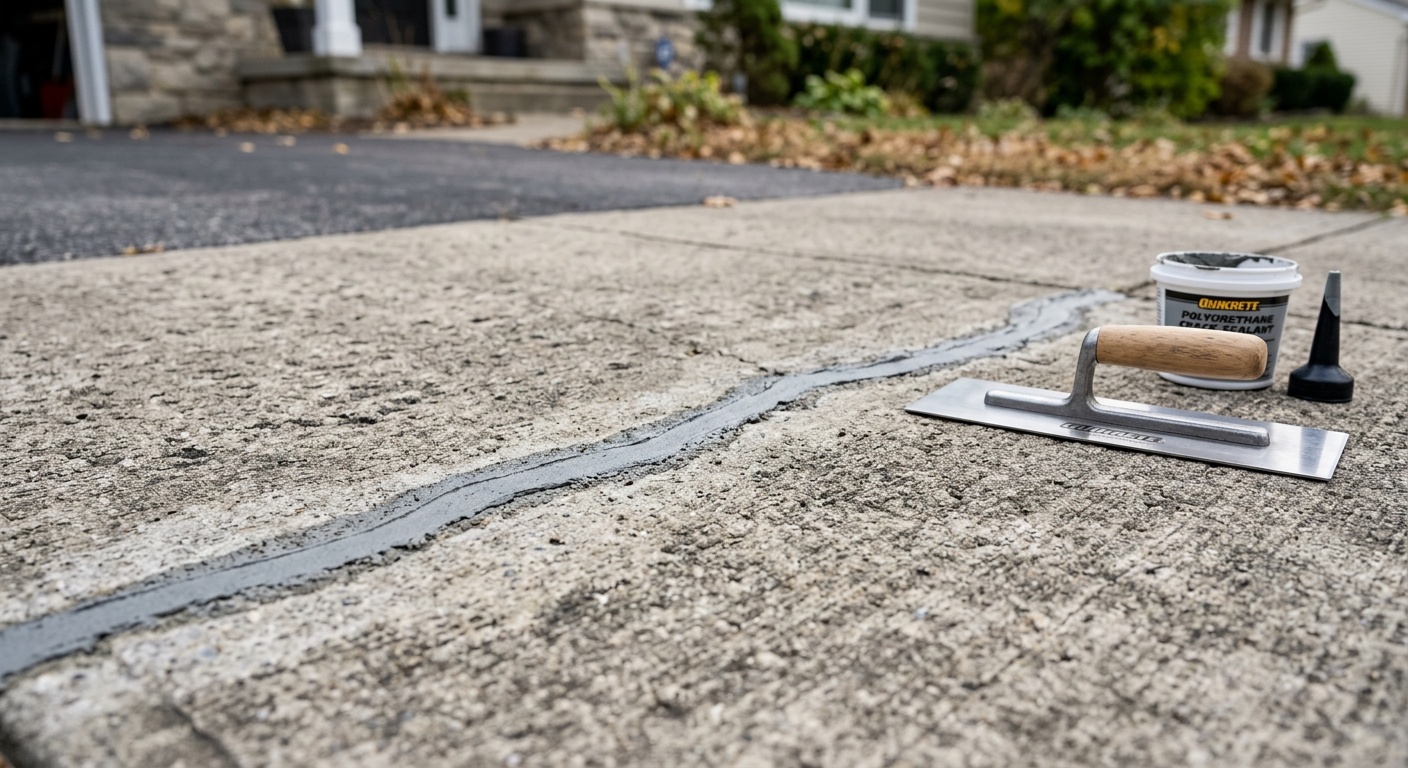
Let’s walk through a real-world repair scenario: a 3/8-inch-wide crack running diagonally across a 15-year-old concrete driveway. This is the exact type of repair that homeowners across North America tackle every spring — and often botch due to insufficient prep.
Phase 1: Preparation (The Make-or-Break Phase)
Step 1: Assess weather conditions. Never repair concrete in temperatures below 50°F (10°C) or above 90°F (32°C). Most repair products require moderate temperatures to cure properly. In 2026, with climate volatility creating unpredictable spring conditions in many regions, checking a 72-hour weather forecast before starting is critical. Avoid repair if rain is expected within 24 hours.
Step 2: Clean the crack thoroughly. Use a cold chisel and hammer to chip away any loose, crumbling concrete along the crack edges. This is called undercutting — you’re creating a slightly wider base than opening, which mechanically locks the repair material in place once it cures. Think of it like a dovetail joint in woodworking.
Step 3: Remove all debris. Wire brush the interior of the crack aggressively, then vacuum every particle out with a shop vac. Even fine dust will compromise bonding. This step is tedious, but skipping it is the number one reason repairs fail prematurely.
Step 4: Rinse and dry. Flush the crack with water to remove remaining dust, then allow to dry completely. For epoxy repairs, the surface must be completely dry. For latex or vinyl patches, slightly damp is actually preferable — follow the manufacturer’s specific guidance.
Phase 2: Application
Step 5: Prime if required. Many modern repair products include or recommend a bonding adhesive applied to the crack interior before the filler. Don’t skip this — it’s the chemical version of a mechanical lock and dramatically extends repair life.
Step 6: Apply backer rod for deep cracks. For cracks deeper than 1/2 inch, press foam backer rod (available at any hardware store) into the crack to within 1/4 inch of the surface. This prevents the repair material from sinking too deep and ensures the correct depth-to-width ratio for flexible sealants.
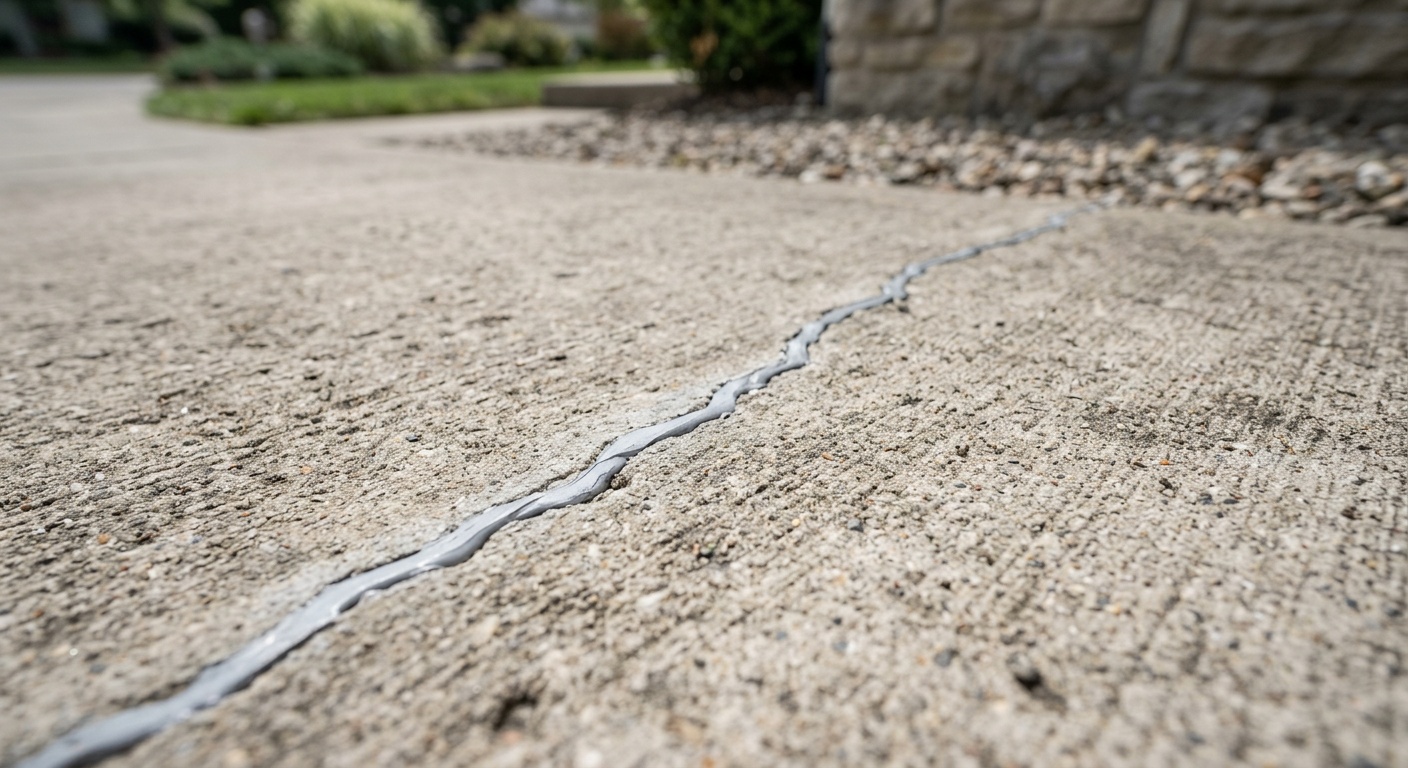
Step 7: Fill the crack. Apply your chosen repair material according to product instructions. For self-leveling sealants, simply pour into the crack and let gravity do the work. For trowel-applied compounds, work in small sections, pressing the material firmly into the crack to eliminate air pockets. Slightly overfill — the material will contract slightly as it cures.
Step 8: Finish the surface. Use a margin trowel or putty knife to feather the repair material flush with the surrounding concrete. For a texture match, drag a stiff brush across the fresh repair to approximate the broom finish typical of most driveways.
Phase 3: Curing and Sealing
Step 9: Allow proper cure time. This is where impatience destroys good work. Most repair compounds reach workable strength in 24 hours but require 72 hours before foot traffic and 7 days before vehicle traffic. Rushing this step — especially in cooler temperatures — is a guarantee of failure.
Step 10: Apply concrete sealer. Once the repair has fully cured, apply a penetrating concrete sealer over the entire surface. This unifies the appearance, protects the repair from moisture intrusion, and buys you 3-5 additional years before the next maintenance cycle. In 2026, silane-siloxane penetrating sealers remain the gold standard for driveways due to their deep penetration and breathability.
Comparing Repair Products: What Works Best
The table below breaks down the most commonly available DIY concrete repair products by key performance metrics, helping you make a smart purchase decision before you’re standing confused in the hardware store aisle.
| Product Type | Best For | Flexibility | Avg. Cost (2026) | Expected Lifespan |
|---|---|---|---|---|
| Polyurethane Sealant | Moving cracks ≤ 1/2″ | High | $12–$22 / tube | 5–8 years |
| Epoxy Filler | Stable structural cracks | Low (rigid) | $25–$50 / kit | 10–15 years |
| Vinyl Concrete Patch | Wide cracks, surface repairs | Medium | $15–$35 / quart | 4–7 years |
| Hydraulic Cement | Wet/leaking cracks | Very Low | $10–$20 / bag | 3–6 years |
| Self-Leveling Caulk | Horizontal hairline cracks | High | $10–$18 / tube | 3–5 years |
Product Performance Visualization: DIY Repair Longevity Ratings
The following chart compares the average longevity (in years) of each repair product type based on proper application in a temperate climate zone.
~12.5 yrs
~6.5 yrs
~5.5 yrs
~4.5 yrs
~4.0 yrs
Common Mistakes and How to Avoid Them
Let’s talk about what actually goes wrong on real-world DIY repairs — because understanding failure modes is just as important as understanding the right technique.
Mistake #1: Skipping the Prep Work
Consider the experience of a homeowner in suburban Minneapolis who repaired a 1/4-inch driveway crack in spring 2025 using a vinyl concrete patch. By the following February, the repair had popped out cleanly — almost like it had never bonded at all. The culprit? She filled the crack without undercutting or vacuuming, applying the patch directly over a layer of fine concrete dust. The patch bonded to the dust, not the concrete, and the first hard freeze ejected it entirely.
The fix is simple but non-negotiable: always undercut the edges with a chisel or grinder, vacuum aggressively, and dampen the surface appropriately before applying any repair material. The extra 30 minutes of prep work is the difference between a repair that lasts three months and one that lasts three years.
Mistake #2: Using the Wrong Product for a Moving Crack
Using rigid epoxy on a crack that’s still thermally active — still opening and closing with seasonal temperature changes — is a guaranteed failure. The repair will hold through summer, then crack again the moment winter contraction exceeds the material’s flexibility threshold.
If you can observe a crack in both summer and winter and notice measurable width changes, that crack is still moving. Use a flexible polyurethane sealant, not a rigid filler. If you’re unsure, mark the ends of the crack with pencil or chalk and measure its width across seasons. Any visible change of 1/16 inch or more confirms active movement.
Mistake #3: Ignoring the Underlying Cause
A homeowner in Atlanta noticed a recurring crack along the left edge of his driveway every spring for four consecutive years. Each year, he’d fill it. Each spring, it returned — slightly wider. In 2025, a contractor finally identified a mature oak root system growing beneath the slab edge, progressively lifting it. No surface repair was ever going to hold permanently without addressing the root cause — literally.
The lesson: if you’re repairing the same crack in the same location repeatedly, stop patching and start investigating. Check for tree roots, examine the surrounding grade for drainage issues, and probe the soil beneath the slab edge for voids or erosion.
Prevention Strategies That Actually Work
The most effective crack repair is the one you never have to do. Prevention isn’t glamorous, but a homeowner who seals their driveway every three to five years and manages drainage properly can expect to postpone major cracking by 15 to 20 years compared to a driveway that receives no maintenance.
Apply a penetrating sealer every 3–5 years. This is the single highest-ROI maintenance activity for concrete driveways. Silane-siloxane sealers penetrate below the surface and chemically bond with the concrete matrix, dramatically reducing water and chloride intrusion. A $40 DIY sealing job can prevent $2,000 in future repairs.
Manage water runoff and drainage. Standing water is concrete’s worst enemy, particularly in freeze-prone climates. Ensure your driveway and walkway grade directs water away from the slab edges and foundation. Clean debris from adjacent drainage channels regularly. Consider installing channel drains at the base of sloped driveways to intercept runoff before it pools.
Use ice melt products cautiously. Sodium chloride (rock salt) and calcium chloride are notoriously damaging to concrete — they accelerate freeze-thaw spalling and chloride-induced corrosion of embedded rebar. In 2026, sand-based traction products or potassium acetate alternatives cause significantly less surface damage and are worth the small price premium.
Control joint awareness. If your driveway or walkway lacks adequate control joints (the intentional saw cuts or tooled grooves designed to guide cracking to predictable locations), future cracking is almost inevitable in unpredictable locations. A concrete saw cut to the proper depth (1/4 of the slab thickness) can be retrofitted into existing slabs to manage future cracking proactively.
Avoid overloading. Standard residential concrete driveways are designed for passenger vehicles, not commercial trucks. If you regularly receive heavy deliveries or park an RV or boat trailer on your driveway, consider reinforcing high-load zones with additional sub-base material or having a thicker slab poured in those sections.
Frequently Asked Questions
Can I repair a concrete crack myself, or do I always need a professional?
For cracks up to 3/4 inch wide without significant vertical displacement (heaving) between the two sides, DIY repair is absolutely viable for most homeowners. The products available in 2026 have improved significantly in terms of bond strength and ease of use. However, if you’re seeing heaving greater than 1/4 inch, cracks wider than 1 inch, or extensive crumbling along the crack edges, professional assessment is warranted. A structural engineer or experienced concrete contractor can determine whether the underlying cause — poor substrate, expansive soils, root pressure — needs to be addressed before surface repair will hold.
How long will a DIY concrete crack repair last?
That depends almost entirely on two factors: product selection and surface preparation. A properly prepared, correctly matched repair using quality polyurethane sealant or epoxy filler can realistically last 5–15 years. A rushed repair using the wrong product over an unprepped surface may fail within a single freeze-thaw season. Weather also plays a role — repairs in harsh northern climates with extreme temperature swings face more stress than those in mild southern climates. Following manufacturer guidelines for temperature and cure time is essential for maximizing longevity.
What’s the best time of year to repair concrete cracks?
Late spring through early fall offers ideal conditions in most North American climates — temperatures between 55°F and 85°F (13°C–29°C), low humidity, and no frost risk. Spring is particularly advantageous because cracks are at their widest after winter contraction, allowing you to fill them completely before summer expansion. In 2026, with extended warm seasons in many regions due to climate trends, the repair window is effectively broader than it was 15 years ago — but always avoid application when frost is forecast within 48 hours of the repair.
Your Driveway Revival Roadmap: From Cracked to Confident
You now have everything you need to stop treating your driveway cracks as a cosmetic embarrassment and start addressing them as the manageable, fixable problems they actually are. Let’s consolidate your action plan.
Your immediate next steps:
- Walk and assess this weekend. Take a physical inventory of every crack in your driveway and walkways. Photograph them with a measuring tape for reference. Categorize each by width and whether displacement is visible.
- Match the product to the problem. Use the comparison table in this guide to select the right repair compound for each crack type. Don’t default to whatever’s cheapest — match the product’s flexibility to the crack’s behavior.
- Schedule your repair window. Identify a 3-day stretch in the coming weeks with favorable temperatures and no rain in the forecast. Add it to your calendar like any other home maintenance commitment.
- Execute the prep work as rigorously as the repair. Budget 40–50% of your total project time for cleaning, undercutting, and drying. It’s unglamorous, but it’s where repair success is actually determined.
- Seal the entire surface after repair. Don’t just fix the cracks — protect the whole slab with a quality penetrating sealer to unify the surface and prevent future intrusion.
The broader trend here is telling: in 2026, with material costs high and contractor labor at a premium, proactive DIY home maintenance is increasingly the smart financial choice for homeowners who invest the time to do it properly. Concrete repair sits squarely in the category of high-skill-floor, high-reward home projects — approachable for most people who simply follow the process carefully.
Your driveway and walkways are the first and last impression your home makes every single day. So let me ask you this: Are you going to let those cracks keep spreading through another winter, or is this the season you take back control of your curb appeal — one well-repaired crack at a time?