Concrete Patio Restoration Ideas for Exterior Home Renovation Projects
Concrete Patio Restoration Ideas for Exterior Home Renovation Projects
Reading time: 14 minutes
Your concrete patio is cracking, fading, or looking like it survived a small earthquake — and you’re not sure whether to rip it out entirely or give it a second life. Here’s the good news: restoration is almost always the smarter, more cost-effective choice. With the right techniques and a strategic approach, a tired, weathered patio can become the crown jewel of your outdoor living space.
In 2026, exterior home renovation has moved well beyond slapping on a coat of paint. Homeowners are investing in outdoor spaces like never before. According to the National Association of Realtors’ 2025 Remodeling Impact Report, outdoor living projects — including patio renovations — deliver an average cost recovery of 67–84%, making them among the strongest ROI investments in home improvement. Concrete restoration, specifically, has emerged as a dominant trend because it combines affordability, durability, and near-unlimited aesthetic customization.
Whether you’re a weekend DIYer or planning to hire a contractor, this guide walks you through everything you need to know — from diagnosis to design to the finishing touches that make neighbors stop and stare.
Table of Contents
- Assess Before You Address: Diagnosing Your Patio’s Condition
- The Core Restoration Methods Explained
- Design Ideas That Transform Ordinary Concrete
- DIY vs. Professional Restoration: Making the Right Call
- Cost Comparison and ROI Breakdown
- 3 Common Challenges and How to Overcome Them
- Frequently Asked Questions
- Your Patio Restoration Roadmap: Next Steps
Assess Before You Address: Diagnosing Your Patio’s Condition
Before you spend a single dollar on materials, take 30 minutes to properly evaluate what you’re working with. Skipping this step is the number-one reason patio restoration projects fail or cost far more than expected.
Understanding the Types of Concrete Damage
Not all patio damage is created equal. Think of it like a doctor’s diagnosis — the treatment depends entirely on what’s wrong. Here are the most common issues you’ll encounter:
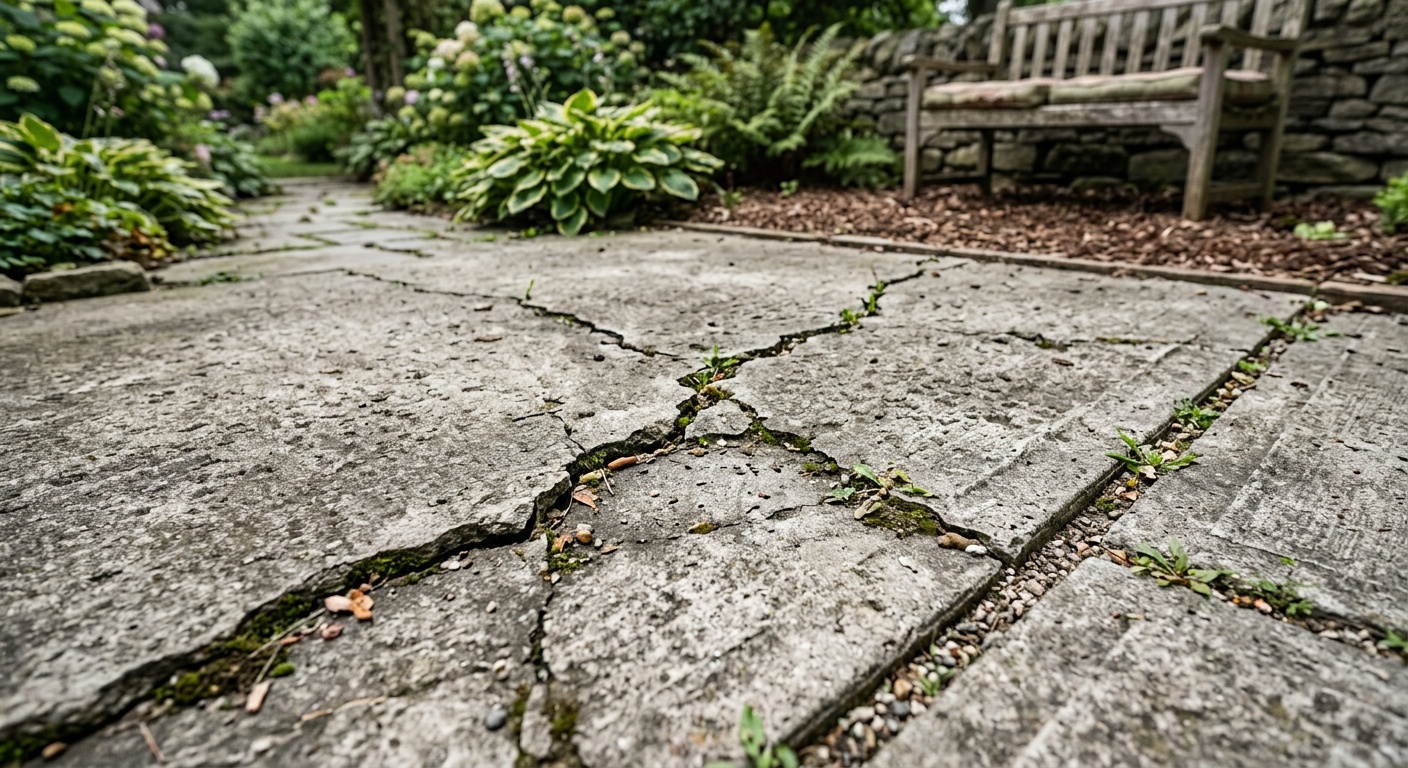
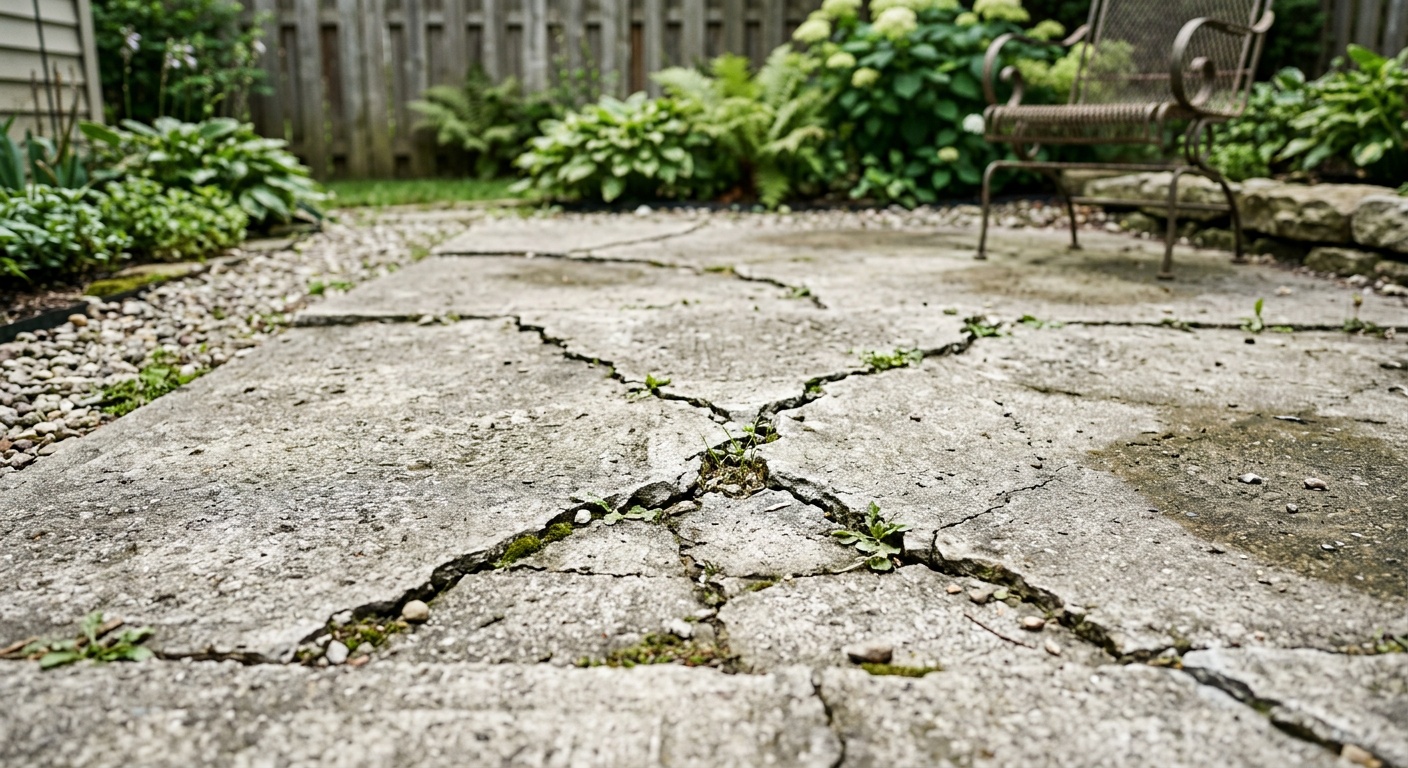
- Surface scaling: The top layer peels or flakes away, often caused by freeze-thaw cycles or deicing salt exposure. This is a cosmetic issue that responds beautifully to overlay treatments.
- Hairline cracks: Thin, shallow cracks caused by natural curing shrinkage or minor settling. Generally non-structural and repairable with crack filler or surface overlays.
- Wide or deep cracks (⅛ inch or wider): These indicate potential structural movement or heaving beneath the slab. Require more thorough repair before any cosmetic treatment.
- Spalling: Pitting and roughness from aggregate exposure. Common in older patios and those exposed to harsh climates.
- Slab settlement: Sections of concrete that have sunk or shifted due to soil erosion or tree root intrusion. May require mudjacking or slabjacking before surface restoration.
- Efflorescence: White chalky deposits caused by water carrying minerals to the surface. A cleaning and sealing issue, not a structural one.
Pro Tip: Tap the surface with a hammer as you walk the entire patio. A hollow sound beneath your strike indicates delamination — air pockets between the slab layers — which means that section needs to be removed rather than overlaid. Don’t skip this step; it could save you thousands.
The Structural Integrity Test
Here’s a quick scenario: Imagine you’ve got a 400-square-foot patio with widespread cracking. Your first instinct might be full replacement. But by doing a proper structural test, many homeowners discover that 80–90% of the slab is perfectly sound, and only isolated sections need targeted repair. The difference between a $3,000 restoration and a $15,000 replacement often comes down to this single diagnostic step.
To assess structural integrity:
- Check for any cracks wider than ¼ inch — measure with a simple coin or crack gauge.
- Look for vertical displacement between slab sections (one side higher than the other across a crack).
- Inspect the perimeter for signs of water infiltration or soil erosion beneath the slab.
- Test drainage — does water pool in any area after rain? Standing water accelerates deterioration significantly.
If fewer than 20% of the slab shows structural compromise, you’re an excellent candidate for restoration. If more than 40% shows structural issues, a hybrid approach — partial replacement plus restoration — may be your best value.
The Core Restoration Methods Explained
Once you’ve completed your assessment, it’s time to match your patio’s specific condition to the right restoration technique. Think of these methods as your toolkit — each one solves a specific set of problems.
Concrete Resurfacing Overlays
Concrete overlays have become the dominant restoration method in 2026, and for good reason. A polymer-modified concrete overlay bonds chemically to your existing slab, creating a fresh surface that can be textured, colored, and stamped to look like virtually any material — from travertine tile to weathered wood planks to natural stone.
Overlays typically range from ¼ inch to ¾ inch in thickness and can be applied over any structurally sound concrete surface. The key is proper surface preparation: acid etching or mechanical grinding to open the pores of the existing concrete, followed by a bonding primer. Without this prep work, even the best overlay product will fail within two to three seasons.
Most popular overlay systems in 2026 include:
- Microtoppings (1–3mm): Ultra-thin, smooth finish ideal for modern minimalist designs. Often used with integral pigments for a seamless color effect.
- Stampable overlays (6–12mm): Thicker material that accepts texture stamps while still wet, mimicking natural stone or brick patterns with impressive realism.
- Spray texture coatings: Applied with a hopper gun to create a slip-resistant, pebbled finish. Extremely durable and affordable for large areas.
- Self-leveling overlays: Poured and spread to fill low spots and create a perfectly flat surface, ideal for patios with uneven wear patterns.
Concrete Staining and Dyeing
If your patio surface is in good condition structurally but looks dull, stained, or outdated, chemical staining and concrete dyeing offer a transformative upgrade with minimal labor. The results can be genuinely stunning — and deeply personal.
Acid staining creates a mottled, variegated effect that’s completely unique to each slab. The acid reacts with minerals in the concrete, producing organic-looking color variations that range from deep espresso browns to warm terracotta reds and oceanic teals. No two acid-stained patios look identical, which is part of their appeal. The process requires careful safety precautions — neutralization after application and thorough rinsing — but the results are permanent and fade-resistant.
Water-based concrete dyes offer a broader color palette than acid stains, including vivid blues, greens, and purples that acid chemistry simply can’t produce. Dyes penetrate the concrete surface quickly and can be layered for depth and complexity. They’re UV-sensitive without a topcoat sealer, however, so sealing is non-negotiable for exterior applications.
Concrete Sealing and Protective Coatings
Even if your patio looks fine right now, sealing is the single most important preventative maintenance step you can take. A quality penetrating sealer or topical coating protects against water infiltration, staining, UV degradation, and the freeze-thaw cycle that destroys unsealed concrete over time.
In 2026, the most advanced options include:
- Silane-siloxane penetrating sealers: Breathable, invisible protection that repels water without altering the surface appearance. Ideal for natural-look concrete.
- Epoxy coatings: High-gloss, extremely durable surface coatings that resist chemical spills, oil stains, and abrasion. Popular for garage patios and high-traffic areas.
- Polyurea/polyaspartic coatings: The newest generation of protective topcoats, curing in as little as one hour and offering superior UV stability compared to traditional epoxy. Increasingly the professional contractor’s choice in 2026.
- Acrylic sealers: Budget-friendly option with good UV resistance, typically requiring reapplication every 2–3 years.
Design Ideas That Transform Ordinary Concrete
Restoration isn’t just about repair — it’s about reinvention. This is where the project becomes genuinely exciting. The design possibilities for restored concrete patios have expanded dramatically, driven by advances in overlay technology and a growing appetite among homeowners for outdoor spaces that feel like true extensions of the home’s interior aesthetic.
Trending design directions for 2026:
- Natural stone mimicry: Stamped overlays replicating Ashlar slate, flagstone, or travertine remain consistently popular, offering the look of premium natural materials at roughly 30–40% of the cost.
- Geometric and graphic patterns: Inspired by contemporary interior tile design, bold geometric patterns — hexagons, Moroccan-inspired arabesque, herringbone brick — are having a major moment in outdoor spaces.
- Warm earth tones: The 2025–2026 design cycle has shifted toward warm, grounded palettes: terracotta, clay, sage, and warm grays that connect outdoor spaces to nature.
- Seamless indoor-outdoor flow: Matching the patio surface finish to interior flooring for a continuous visual transition through sliding glass doors is increasingly requested in 2026 renovations.
- Bordered and zoned designs: Using contrasting colors or textures to define seating areas, dining zones, and pathways within the same patio footprint creates visual structure and elegance.
Real-world example: A homeowner in Austin, Texas undertook a patio restoration in early 2026 on a 520-square-foot slab that had been in place since 2003. Rather than replacing the concrete, they applied a stampable overlay in a large-format travertine pattern with a warm buff base color and hand-applied antique release. The total project cost was $4,800 — compared to a replacement estimate of $17,500. The result? A patio that looks like it belongs in a boutique hotel, with a surface that will easily outlast the original concrete beneath it.
DIY vs. Professional Restoration: Making the Right Call
This is the question every homeowner wrestles with, and the honest answer is: it depends on the scope and technique. Let’s break it down clearly.
Projects well-suited to confident DIYers:
- Crack filling and patching (small to medium cracks)
- Concrete cleaning and efflorescence removal
- Applying penetrating sealers
- Basic acrylic staining on small patios
- Simple spray texture coatings with proper equipment rental
Projects that strongly benefit from professional execution:
- Acid staining (safety risks and neutralization chemistry require experience)
- Stamped overlays (timing and technique are critical; mistakes are very difficult to correct)
- Polyurea/polyaspartic coatings (extremely fast cure times demand professional speed)
- Slabjacking or mudjacking for settlement issues
- Any project over 400 square feet with complex pattern work
The 2026 contractor market for concrete restoration has matured significantly, with certified applicators available through organizations like the American Society of Concrete Contractors (ASCC). Always request references for projects specifically involving overlay work, as this subfield requires different skills than standard concrete installation.
Cost Comparison and ROI Breakdown
Let’s talk numbers. One of the most compelling arguments for restoration over replacement is the dramatic cost differential — but it’s important to compare apples to apples.
| Restoration Method | Avg. Cost/Sq Ft (2026) | Lifespan (Years) | DIY Feasibility | Estimated ROI |
|---|---|---|---|---|
| Sealing Only | $0.50–$1.50 | 2–5 | High | 90%+ |
| Concrete Staining | $2–$5 | 5–10 | Medium | 75–85% |
| Stampable Overlay | $7–$14 | 10–20 | Low | 70–80% |
| Epoxy/Polyurea Coating | $5–$12 | 10–15 | Low-Medium | 72–82% |
| Full Replacement | $25–$50 | 25–40 | Very Low | 60–70% |
Cost data reflects U.S. national averages for 2026; regional pricing varies by 20–35%.
Visualizing Cost Efficiency: Restoration Methods Compared
The following chart illustrates the cost efficiency score (value delivered per dollar spent) for each restoration approach, based on a composite of longevity, aesthetic impact, and upfront investment:
95/100
82/100
78/100
74/100
52/100
Cost efficiency scores are composite ratings based on cost-per-year-of-service, aesthetic uplift value, and environmental impact considerations.
3 Common Challenges and How to Overcome Them
Challenge 1: Adhesion Failure in Overlays
The single most common complaint in patio overlay projects is delamination — the new overlay lifting or separating from the old concrete within the first few seasons. This is almost always a surface preparation failure, not a product failure.
The fix: Never skip mechanical preparation. Either acid etch the surface (using a 10% muriatic acid solution, following all safety protocols) or — better yet — use a floor grinder with a diamond cup wheel to achieve a surface profile of at least CSP 3 (Concrete Surface Profile 3), which means you can feel the texture with your fingertip. A bonding primer applied immediately before the overlay is non-negotiable. Also, avoid applying overlays when the substrate temperature is below 50°F or above 90°F, as thermal extremes compromise the chemical bonding process.
Challenge 2: Color Inconsistency in Staining
You envisioned a rich, uniform coffee brown. What you got was blotchy, pale in some spots and dark in others. Sound familiar? Color inconsistency in concrete staining typically traces back to one of three causes: uneven surface porosity, residual curing compounds that weren’t fully removed, or contamination from previous sealers.
The fix: Before any staining project, do a water drop test. Sprinkle water across different areas of the patio. If water beads up in some areas and soaks in elsewhere, you have uneven porosity that will produce inconsistent stain absorption. Address this with a concrete degreaser and a thorough diamond grinding, then test again. Only proceed when water absorbs uniformly across the entire surface. For patios that previously had a sealer applied, use a chemical stripper to remove all traces before attempting any stain work.
Challenge 3: Crack Reappearance After Repair
You fill the cracks, apply your overlay — and within one season, the cracks reappear in exactly the same places, telegraphing through the new surface. This phenomenon, called reflective cracking, occurs when the underlying concrete continues to move subtly due to thermal expansion, settlement, or tree root pressure.
The fix: For any crack wider than 1/16 inch, use a flexible polyurethane or polyurea crack filler rather than rigid patching compound. Flexible fillers can accommodate minor movement without failing. For cracks running the full depth of the slab, consider routing the crack wider (using an angle grinder with a crack-chasing blade) and installing a backer rod before filling — this creates a controlled joint that moves predictably. Then, when applying your overlay, install fiberglass mesh reinforcement embedded in the material directly over each repaired crack for additional bridging strength.
Frequently Asked Questions
How long does a concrete patio restoration typically take from start to finish?
For most residential projects, plan on two to four days from surface preparation to the final protective topcoat. Day one typically covers cleaning, crack repair, and surface preparation. Day two handles the base overlay or stain application. Day three applies pattern or texture work if applicable, and day four applies the final sealer or topcoat. Most overlays require 24–48 hours of cure time before light foot traffic and 5–7 days before heavy furniture is placed. Weather is the biggest wildcard — avoid any exterior concrete work when rain is forecast within 24 hours of application or when temperatures will drop below freezing within 48 hours of project completion.
Can I restore a concrete patio myself if I have no prior experience?
Absolutely — for certain restoration types. Sealing, basic crack filling, and even water-based staining are genuinely achievable for motivated beginners with proper research and preparation. The critical success factors are: reading and following product manufacturer instructions precisely, not rushing the surface preparation phase, and doing a small test section in an inconspicuous area before committing to the full patio. Where beginners consistently run into trouble is with acid staining (chemistry and safety risks) and stamped overlays (the working window is very short and technique errors are visible and permanent). For those techniques, watching a professional application in person before attempting it yourself is strongly recommended, or hire out at least the first overlay experience.
How do I know if my concrete is too far gone to restore?
Three clear indicators point toward replacement rather than restoration: first, if more than 30–40% of the slab surface shows active spalling or delamination when tapped; second, if there is significant vertical displacement (greater than ½ inch) between slab sections indicating major structural settlement that cannot be corrected with mudjacking; and third, if the concrete is less than 3 inches thick in multiple locations — many older residential patios were poured thin and lack the structural mass needed for overlay adhesion under heavy use. In borderline cases, getting two or three professional assessments before making a final call is always worthwhile. A reputable contractor will tell you honestly if restoration isn’t the right solution.
Your Patio Transformation Roadmap: From Cracked to Captivating
You’ve absorbed a lot of information. Now let’s make it actionable. Here’s your concrete (pun fully intended) step-by-step plan:
- This weekend — Complete your assessment: Walk, tap, measure, and photograph every inch of your patio. Document crack widths, drainage issues, and areas of delamination. This 30-minute investment shapes every decision that follows.
- Week 2 — Choose your restoration path: Match your assessment findings to the restoration method that fits your budget, skill level, and design vision. Get at least two contractor quotes even if you plan to DIY — the education is valuable and the numbers might surprise you.
- Week 3 — Gather materials and prepare the surface: Surface preparation is 70% of the job. Clean, repair, grind, and prime before a single drop of overlay or stain touches your patio.
- Week 4 — Execute and protect: Apply your chosen treatment in appropriate weather conditions, following cure times precisely. Never rush the final topcoat — it’s the layer that protects your investment for years to come.
- Ongoing — Maintain your investment: Reseal penetrating sealers every 3–5 years, topical acrylics every 2–3 years. Clean spills promptly, avoid metal-edged snow shovels on overlaid surfaces, and inspect annually for early signs of wear.
The broader context matters here: in 2026, outdoor living space has become an extension of our mental and social wellbeing, not just a real estate feature. As remote and hybrid work continues to reshape how people use their homes, the patio has evolved from a weekend luxury into a daily sanctuary. Investing in that space — thoughtfully, strategically, with quality materials — pays dividends in lifestyle quality that no spreadsheet can fully capture.
Here’s the question to carry forward: When you look at your patio today, do you see a problem — or do you see an opportunity? Because with the right knowledge, what’s cracked and faded today can become the most-used, most-loved corner of your property within a single month. The concrete is already there. The potential is yours to unlock.
Your ideal outdoor space is closer — and more affordable — than you probably think. What’s stopping you from starting the assessment this weekend?