The Complete Guide to Sealing and Maintaining Concrete Driveways
The Complete Guide to Sealing and Maintaining Concrete Driveways
Reading time: 14 minutes
Ever pulled into your driveway and winced at the cracks, stains, or faded surface staring back at you? You’re not alone. Millions of homeowners across North America are dealing with concrete driveways that are aging faster than they should — not because concrete is a bad material, but because most people simply don’t know how to maintain it properly.
Here’s the straight talk: a concrete driveway is one of the most significant investments in your home’s curb appeal and functionality. The average concrete driveway installation in 2026 costs between $4,000 and $12,000 depending on size and finish. Protecting that investment with regular sealing and maintenance isn’t just smart — it’s essential.
This guide cuts through the noise, giving you a precision roadmap whether you’re a first-time homeowner staring at a brand-new pour or someone trying to rescue a driveway that’s been neglected for years. Let’s turn your concrete challenges into a driveway that lasts decades.
Table of Contents
- Why Sealing Your Concrete Driveway Matters
- Types of Concrete Sealers: Choosing the Right One
- Step-by-Step Sealing Process
- Common Challenges and How to Overcome Them
- Your Concrete Maintenance Schedule
- Real-World Case Studies
- Sealer Performance Comparison
- Frequently Asked Questions
- Your Driveway Longevity Action Plan
Why Sealing Your Concrete Driveway Matters
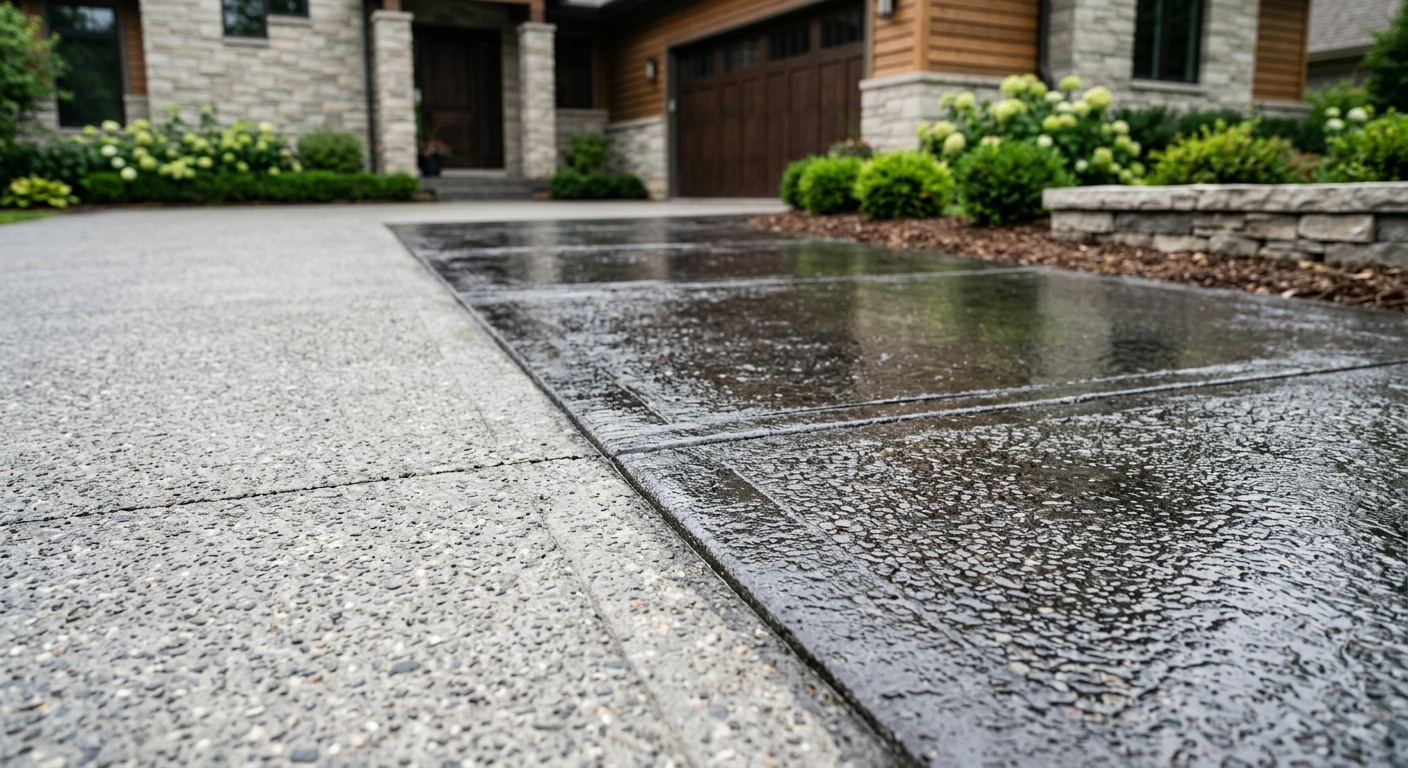
Concrete looks tough — and it is. But it’s also surprisingly porous. Without proper sealing, your driveway absorbs water, oil, road salts, and chemicals every single day. Over time, this leads to surface degradation, staining, freeze-thaw cracking, and eventually structural failure.
According to the Portland Cement Association’s 2025 Residential Concrete Report, unsealed concrete driveways lose up to 40% of their surface integrity within the first 10 years in climates with significant freeze-thaw cycles. In contrast, properly sealed and maintained driveways routinely last 30 to 50 years with minimal structural repair.
The Hidden Enemies of Concrete
Understanding what attacks your driveway helps you defend against it strategically:
- Water penetration: Water expands by approximately 9% when it freezes. When it’s trapped inside concrete pores, it creates micro-fractures that widen over time.
- De-icing salts: Sodium chloride and calcium chloride accelerate the freeze-thaw cycle and chemically react with concrete compounds, causing scaling and surface erosion.
- UV radiation: Prolonged sun exposure breaks down the binder in decorative or stamped concrete finishes and causes fading and surface chalking.
- Oil and chemical spills: Motor oil, gasoline, and automotive fluids penetrate unsealed concrete quickly, creating permanent stains and weakening the surface layer.
- Tree roots and soil movement: Shifting soil beneath the slab creates uneven stress points, which accelerate cracking when combined with moisture damage.
The Return on Investment of Proper Sealing
Here’s a number that matters: sealing your driveway costs approximately $0.15 to $0.50 per square foot for materials when done DIY, or $0.80 to $2.50 per square foot professionally in 2026. Compared to resurfacing costs of $3 to $8 per square foot or full replacement at $8 to $18 per square foot, the math is overwhelmingly in favor of proactive maintenance.
A 600-square-foot driveway sealed every 3 years costs roughly $270 to $900 in materials over a decade. The same driveway left unsealed may require resurfacing or partial replacement totaling $3,000 to $10,000 over the same period. That’s the real cost of skipping maintenance.
Types of Concrete Sealers: Choosing the Right One
Walk into any home improvement store in 2026 and you’ll find an overwhelming wall of concrete sealer options. Here’s how to navigate them strategically rather than guessing based on packaging alone.
Penetrating Sealers (Silane/Siloxane)
Penetrating sealers are the workhorses of concrete protection. Rather than forming a film on the surface, they chemically react with the concrete’s silica to create a water-repellent barrier within the slab itself. This means they won’t peel, flake, or change the appearance of your driveway.
Best for: Functional driveways where you want maximum protection without altering the look. Particularly effective in cold climates with heavy de-icing salt use.
Reapplication interval: Every 5 to 10 years.
Average cost (2026): $35 to $75 per gallon, covering approximately 200 to 400 square feet.
Acrylic Sealers
Acrylic sealers are the most popular choice for residential driveways, offering a balance of protection, aesthetics, and affordability. They form a thin protective film that enhances color, adds slight sheen, and repels water and light chemical exposure.
There are two subtypes to know:
- Solvent-based acrylics: Deeper penetration, higher sheen, stronger odor during application, slightly better durability.
- Water-based acrylics: Lower VOC emissions, easier cleanup, better for decorative finishes, increasingly preferred in 2026 due to stricter VOC regulations in California, New York, and several other states.
Reapplication interval: Every 2 to 3 years.
Average cost (2026): $25 to $55 per gallon.
Epoxy and Polyurethane Sealers
These are the premium, high-performance options. Epoxy sealers create an extremely hard, chemical-resistant surface that’s ideal for garages and heavily trafficked driveways. Polyurethane offers similar protection with better UV resistance, making it excellent for driveways in sun-intense climates like Arizona, Texas, and Florida.
Best for: Decorative concrete, stamped driveways, or areas with heavy vehicle traffic and chemical exposure.
Reapplication interval: Every 3 to 5 years.
Average cost (2026): $50 to $120 per gallon.
Comparative Sealer Selection Table
| Sealer Type | Protection Level | Appearance Change | Lifespan | DIY Friendliness |
|---|---|---|---|---|
| Silane/Siloxane Penetrating | Excellent (water/salt) | None / Natural look | 5–10 years | ⭐⭐⭐⭐⭐ |
| Acrylic (Water-based) | Good (water/UV) | Slight sheen | 2–3 years | ⭐⭐⭐⭐⭐ |
| Acrylic (Solvent-based) | Very Good | Medium gloss | 2–4 years | ⭐⭐⭐⭐ |
| Epoxy Coating | Excellent (chemicals) | High gloss | 3–5 years | ⭐⭐⭐ |
| Polyurethane | Excellent (UV/abrasion) | Variable sheen | 3–5 years | ⭐⭐⭐ |
Step-by-Step Sealing Process
Proper application is where most DIY sealing projects succeed or fail. A high-quality sealer applied incorrectly can bubble, peel, or leave white haze — results that are worse than no sealing at all. Follow this precision process to get it right the first time.
Phase 1: Surface Preparation (The Most Critical Step)
Professional contractors consistently report that 80% of sealer failures are caused by inadequate surface preparation, not product quality. Don’t rush this phase.
- Clear and clean the surface: Remove all vehicles, outdoor furniture, and debris. Use a stiff broom to sweep away loose material.
- Degrease oil stains: Apply a concrete degreaser (alkaline cleaner) to oil-stained areas. Let it dwell for 15 to 20 minutes, then scrub with a stiff-bristle brush and rinse thoroughly. For older, set stains, a poultice treatment with diatomaceous earth and solvent may be needed.
- Pressure wash: Use a pressure washer at 2,000 to 3,000 PSI with a 25-degree nozzle. Work in overlapping passes for uniform cleaning. This removes dirt, mold, mildew, old sealer residue, and efflorescence.
- Repair cracks: Fill hairline cracks (under 1/4 inch) with a self-leveling polyurethane or epoxy crack filler. For wider cracks, use a cementitious repair mortar. Allow full cure time before sealing — typically 24 to 48 hours.
- Allow complete drying: The surface must be bone dry. In normal conditions, allow 24 to 48 hours after washing. In humid environments, wait 48 to 72 hours. Moisture trapped under a sealer is a primary cause of bubbling and peeling.
Phase 2: Application
- Check weather conditions: Apply sealers when temperatures are between 50°F and 90°F. Avoid application in direct hot sunlight, when rain is expected within 24 hours, or when humidity exceeds 80%.
- Choose your applicator: Rollers (3/8-inch nap) work well for most acrylic sealers. Sprayers are more efficient for penetrating sealers on large areas. Brushes are useful for edges and tight spots.
- Apply thin coats: The most common mistake is applying too thickly. Two thin coats outperform one thick coat every time. A thick coat traps solvents and leads to bubbling.
- Work in sections: Apply in 3-foot by 3-foot sections, maintaining a wet edge to avoid lap marks.
- Second coat timing: Apply the second coat when the first is tack-free but not fully cured — typically 2 to 4 hours for acrylics. For penetrating sealers, a second coat may not be needed; consult product instructions.
- Curing time: Keep traffic off for 24 hours (foot traffic) and 48 to 72 hours (vehicle traffic). Full cure typically takes 7 days.
Common Challenges and How to Overcome Them
Even with the best intentions, concrete maintenance throws curveballs. Here are the three most common challenges homeowners face in 2026 — and precise strategies to tackle them.
Challenge 1: White Haze or Cloudiness After Sealing
This is the most frequent DIY complaint, and it’s almost always caused by one of three things: moisture trapped under the sealer, overapplication, or incompatible product layering.
Solution: For light haziness on water-based acrylics, apply xylene (dimethylbenzene) sparingly with a roller — it re-emulsifies the sealer and allows moisture to escape. For solvent-based products with trapped moisture haze, you may need to mechanically remove the sealer with a floor buffer and chemical stripper, then allow longer drying time before reapplication. Going forward, always conduct a moisture test: tape plastic sheeting to the concrete and wait 24 hours — if condensation forms underneath, the slab is too wet to seal.
Challenge 2: Sealer Peeling or Flaking
Peeling typically indicates either bond failure (old sealer residue wasn’t removed, or the surface was contaminated) or thermal stress from temperature cycling.
Solution: There’s no shortcut here — the old sealer must be stripped completely using a chemical stripper formulated for your sealer type, followed by thorough pressure washing. In climates with extreme temperature swings, switch to a penetrating silane/siloxane sealer which doesn’t form a film and therefore can’t peel. For decorative surfaces where appearance matters, use a flexible polyurethane sealer rated for thermal movement.
Challenge 3: Persistent Oil Stains That Resist Cleaning
Motor oil stains that have penetrated deep into unsealed concrete can be one of the most stubborn maintenance challenges. Standard degreasers often treat only the surface level.
Solution: Use a two-stage approach. First, apply a biological/enzymatic cleaner specifically formulated for petroleum stains — these use living bacteria to digest hydrocarbon molecules from within the concrete pores. Products like Oil Eater or Terminator-HSD (popular choices in 2026) have shown strong results in independent testing. Apply, cover with plastic, and allow 24 to 48 hours dwell time. For extremely deep stains, follow with a poultice: mix powdered pool absorbent (diatomaceous earth) with acetone to a peanut butter consistency, apply a 1/2-inch layer over the stain, cover with plastic, and allow 24 hours to draw the oil to the surface as the solvent evaporates.
Your Concrete Maintenance Schedule
Think of concrete maintenance like dental health — consistent small actions prevent expensive procedures later. Here’s a practical schedule you can actually follow:
Seasonal Maintenance Tasks
Spring (Annual Priority):
- Inspect the entire surface for new cracks, chips, or spalling after winter freeze-thaw cycles
- Clean de-icing salt residue thoroughly with a diluted pH-neutral cleaner
- Assess sealer condition: splash water on the surface — if it no longer beads up and soaks in within 30 seconds, resealing is due
- Fill and repair any new cracks before they widen through summer heat expansion
Summer:
- Apply sealer during mild temperature windows (avoid peak heat above 90°F)
- Address oil or fuel spills immediately — fresh spills clean up far more easily than set stains
- Check and reapply joint sealant in control joints if cracking or missing
Fall:
- Remove leaves and organic debris promptly — decomposing organic matter creates acid staining
- Verify drainage is functioning — standing water on concrete accelerates winter damage
- Final inspection before winter: seal any repairs done during the year
Winter:
- Use sand or kitty litter for traction rather than rock salt where possible
- If salt is necessary, use magnesium chloride (less concrete-damaging than sodium chloride) or CMA (calcium magnesium acetate) for sensitive surfaces
- Avoid metal snow shovels — use poly-blade shovels that won’t chip the sealer
Real-World Case Studies
Case Study 1: The Neglected Driveway Rescue — Minnesota, 2025
A homeowner in Minneapolis, Minnesota contacted a concrete restoration specialist in spring 2025 with a 22-year-old driveway that had never been sealed. The surface showed severe scaling, multiple cracks (some up to 1/2 inch wide), deep oil staining from the garage, and significant salt spalling across the top 1/4 inch of the surface layer.
The restoration approach involved diamond grinding to remove the spalled surface layer, crack repair with polyurethane injection for structural cracks, enzymatic treatment for oil stains, and application of a two-part penetrating silane/siloxane sealer. Total cost: $2,800 for a 750-square-foot driveway. The alternative — full replacement — was quoted at $9,500 to $14,000.
Key lesson: Even significantly neglected concrete can often be restored rather than replaced, but the window closes once freeze-thaw damage penetrates below the surface layer. Acting at the first signs of deterioration provides the most options and the lowest cost.
Case Study 2: New Construction Sealing — Texas, 2026
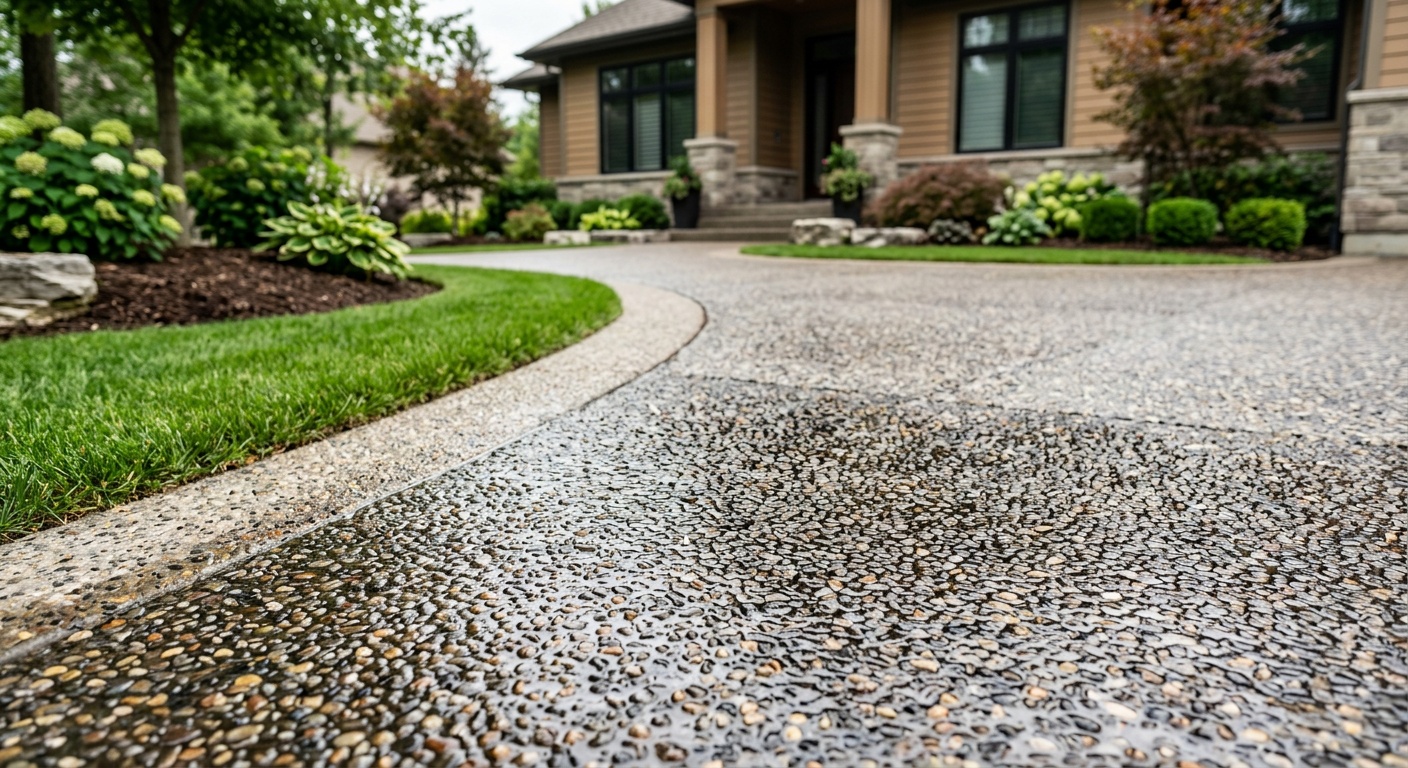
A homeowner in Austin, Texas had a new 900-square-foot exposed aggregate driveway installed in January 2026. Their contractor recommended waiting 28 days for full concrete cure before applying any sealer — standard advice. However, the homeowner researched further and discovered that in hot, UV-intense climates, a penetrating silane/siloxane sealer should be applied at the 28-day mark, followed by a UV-resistant polyurethane topcoat.
By following a two-stage sealing approach recommended by a local concrete specialist, the homeowner invested $380 in materials and a weekend of work. A neighbor’s identical driveway poured at the same time, left unprotected, showed visible UV fading and surface dusting within 18 months.
Key lesson: Climate-specific sealing strategies matter enormously. A blanket one-product approach ignores the specific threats your geography presents.
Sealer Performance Comparison: Lifespan by Climate Zone
Average Sealer Lifespan by Climate Type (Years Before Reapplication)
2.0 years avg.
3.0 years avg.
2.5 years avg. (UV degradation)
3.5 years avg.
4.0 years avg.
Data based on industry maintenance guidelines and independent contractor surveys, 2025–2026. Figures reflect acrylic sealer performance under standard residential use.
Frequently Asked Questions
How long should I wait before sealing a brand-new concrete driveway?
The industry-standard recommendation is to wait a minimum of 28 days after your concrete is poured before applying any sealer. This allows the concrete to reach approximately 90% of its design strength through the hydration curing process. Sealing too early can trap bleed water and compromise the sealer bond. In cooler temperatures (below 60°F), the hydration process slows considerably — you may need to wait 35 to 45 days. As a practical check, the concrete should appear uniformly gray with no damp or darker patches before you begin sealing.
Can I apply a new sealer over an old one without stripping?
It depends on the sealer types involved. If both are the same chemistry — for example, water-based acrylic over water-based acrylic — and the existing sealer is in good condition (not peeling, flaking, or milky), you can typically apply a new coat after thorough cleaning. However, if you’re switching sealer types (such as applying a solvent-based product over a water-based one, or vice versa) or if the existing sealer is failing in any way, you must strip the old sealer completely first. Incompatible sealer layering is a leading cause of adhesion failure, white haze, and peeling. When in doubt, strip and start fresh — it’s cheaper than redoing a failed application.
Is it worth hiring a professional, or can I seal my driveway myself?
For standard residential driveways using penetrating or acrylic sealers, DIY is entirely manageable for most homeowners and can save 60 to 70% of the cost compared to professional service. The critical success factors are thorough preparation, selecting the right product for your climate and concrete type, and following application instructions precisely regarding temperature, drying time, and coat thickness. Where professional services genuinely add value is in complex situations: decorative or stamped concrete requiring specialty products, driveways needing structural crack repair before sealing, or situations where a failed previous application needs stripping and diagnosis. If your driveway is in poor condition or you’re working with premium decorative finishes, the investment in professional assessment is worthwhile.
Your Driveway Longevity Action Plan
You now have a comprehensive framework that most homeowners never access. Here’s how to turn that knowledge into action — starting this weekend if needed.
Your 5-Step Implementation Roadmap:
- Assess your current situation honestly: Walk your driveway with fresh eyes today. Note crack locations, stain types, and whether water beads or absorbs. Take photos to track changes over time. This 15-minute audit tells you exactly where you are in the maintenance cycle.
- Match your sealer to your climate: Use the climate zone data above as your starting point. If you’re in a freeze-thaw region, prioritize a penetrating silane/siloxane as your foundation. In UV-intense regions, add a UV-stable topcoat. Don’t buy generic — buy strategically.
- Commit to proper prep before purchase: Order your cleaning supplies and crack repair materials at least a week before your planned sealing day. Preparation takes longer than application — budget 4 to 6 hours for prep on a standard driveway.
- Calendar your reapplication now: Based on your climate zone, set a calendar reminder for your next sealer inspection 2 years out. The simple water bead test takes 30 seconds and tells you everything you need to know.
- Document everything: Keep a simple maintenance log — product names, application dates, weather conditions, and any repairs made. This log is invaluable when troubleshooting future issues and adds tangible value when selling your home.
As sustainable construction materials continue evolving through 2026 and beyond, concrete remains the dominant choice for residential driveways — and new bio-based sealer technologies are emerging that promise longer protection intervals with lower environmental impact. Getting your maintenance fundamentals right now positions you to adopt these improvements from a place of strength, not desperation.
Your driveway reflects more than just curb appeal — it’s a statement about how you steward your home’s long-term value. The question isn’t whether you can afford to seal and maintain your concrete driveway. The real question is: can you afford not to?