How to Clean and Restore Stained Concrete Surfaces Outside
How to Clean and Restore Stained Concrete Surfaces Outside: The Complete 2026 Guide
Reading time: 14 minutes
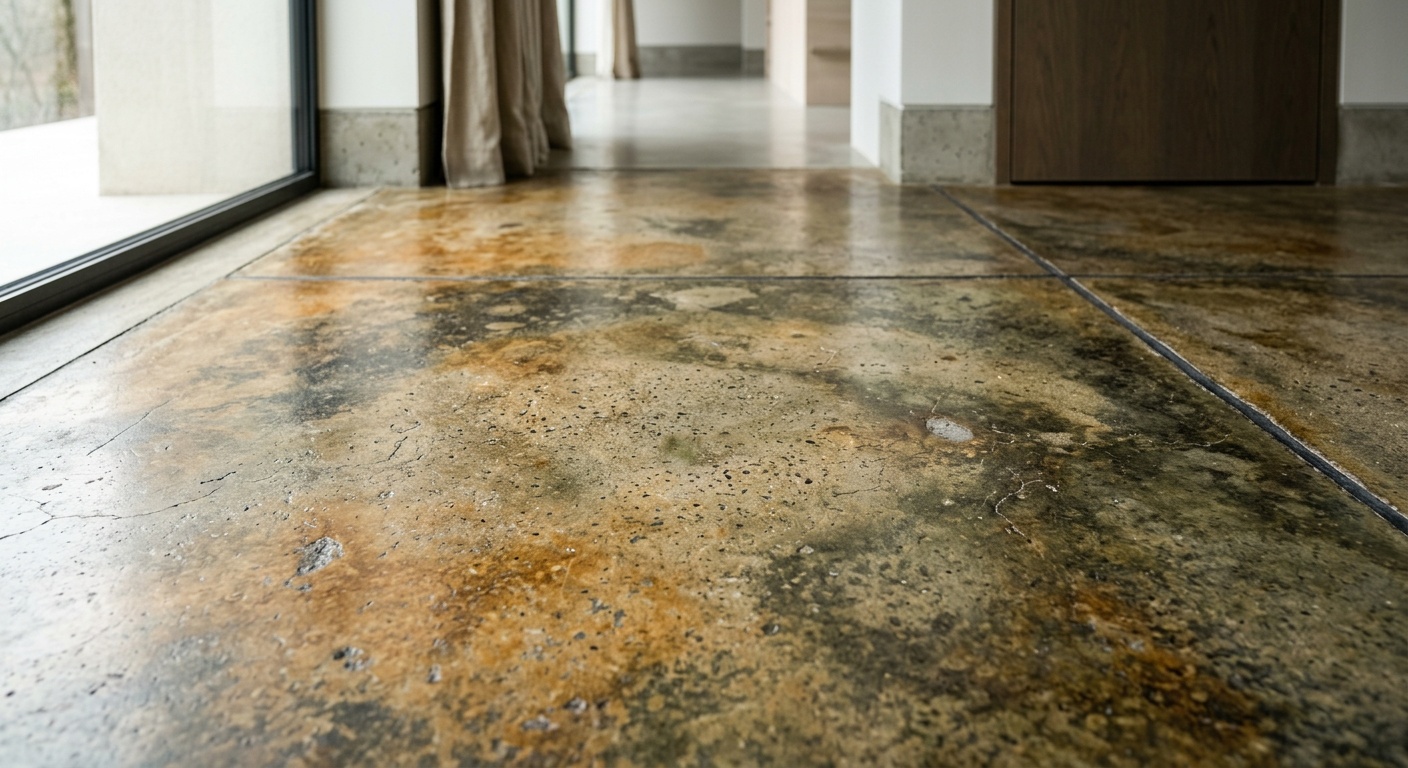
You’ve stepped outside onto your patio, driveway, or pool deck and cringed at what stares back at you — grey-green algae patches, oil drips from last winter, rust streaks from patio furniture, and a general griminess that no amount of wishful thinking will fix. Sound familiar? You’re not alone. According to the National Concrete Pavement Association’s 2025 Homeowner Surface Care Report, approximately 67% of residential concrete surfaces show visible staining or discoloration within five years of installation, and many homeowners delay treatment until the damage becomes significantly harder and more expensive to reverse.
Here’s the straight talk: restoring stained outdoor concrete isn’t rocket science, but it does require the right diagnosis, the right chemistry, and a clear step-by-step process. Do it wrong and you can etch the surface permanently, seal in the stain, or create an uneven finish that looks worse than the original problem.
This guide cuts through the noise. Whether you’re dealing with a grease-soaked driveway, a moss-covered garden path, or a rust-stained pool surround, we’ll walk you through every stage — assessment, cleaning, stain-specific treatment, restoration, and long-term protection — with practical advice you can actually use this weekend.
Table of Contents
- Assess Before You Attack: Diagnosing Your Concrete’s Condition
- Tools and Products You’ll Actually Need in 2026
- General Cleaning: Pressure Washing and Scrubbing
- Stain-Specific Treatment Strategies
- Restoring Damaged and Weathered Concrete
- Sealing and Protecting for Long-Term Results
- Frequently Asked Questions
- Your Concrete Restoration Roadmap: Next Steps
Assess Before You Attack: Diagnosing Your Concrete’s Condition
The single biggest mistake homeowners make is grabbing a pressure washer before they understand what they’re dealing with. Concrete is porous — it absorbs stains at different depths depending on the stain type, the age of the concrete, and whether it was previously sealed. A surface stain and a deep-penetrating oil stain require completely different approaches.
The Four-Point Concrete Assessment
Before spending a single dollar on products, walk your surface and answer these four questions:
- What type of stain is it? Organic (algae, moss, leaves), petroleum-based (oil, grease, asphalt), mineral (rust, efflorescence, hard water), or chemical (paint, adhesive, sealant failure)?
- How deep has it penetrated? Surface stains often scrape with a fingernail. Deep stains remain after a quick water rinse and visible scrubbing.
- Is the concrete sealed or unsealed? Drop a few water droplets on the surface. If they bead up, it’s sealed. If they absorb within 60 seconds, it’s unsealed and far more porous.
- What’s the concrete’s structural condition? Check for cracks wider than 3mm, spalling (surface flaking), or heaving. Cleaning a structurally compromised surface without repair first is wasted effort.
Real-World Scenario: Consider Marcus, a homeowner in Phoenix, Arizona, who spent $180 on an enzyme cleaner for what he thought was an oil stain on his driveway. Three applications later, the stain barely faded. The diagnosis? Efflorescence — mineral salts migrating to the surface — which requires an acidic treatment, not an enzyme solution. The wrong product for the wrong stain type is the most common and most costly mistake in concrete restoration.
Understanding Concrete Porosity and Stain Depth
Concrete’s porosity rating — measured in terms of water absorption percentage — directly influences how deeply a contaminant penetrates and how aggressive your cleaning approach needs to be. Older concrete (10+ years) without sealing can absorb up to 8–12% water by weight, making it highly susceptible to deep staining. Newly sealed concrete absorbs less than 1%. This matters because deep stains often require chemical dwell time of 20–30 minutes, mechanical agitation with stiff bristle brushes, and sometimes repeat treatments across multiple days.
Tools and Products You’ll Actually Need in 2026
The concrete cleaning market has evolved considerably. In 2026, you’ll find a wider range of eco-conscious, biodegradable formulations that match — and in some cases outperform — their harsher predecessors. Here’s what belongs in your toolkit:
Essential Equipment
- Pressure washer (1,500–3,000 PSI): For residential use, a 2,000 PSI electric unit is ideal. Gas-powered units above 3,000 PSI risk surface etching on older concrete. In 2025, brands like Sun Joe and Ryobi expanded their battery-powered lines to 2,200 PSI, making them genuinely viable for most driveways.
- Surface cleaner attachment: A rotating disc attachment provides even pressure distribution — critical for avoiding pressure washer striping marks.
- Stiff-bristle deck brush (nylon or polypropylene): Avoid metal bristles on exposed aggregate or stamped concrete.
- Chemical-resistant gloves and eye protection: Non-negotiable when working with acid-based or solvent-based cleaners.
- Garden pump sprayer (2-gallon capacity): For applying chemical treatments evenly over large areas.
- Wet/dry vacuum or squeegee: For collecting rinse water, particularly important in drought-restricted regions.
Cleaning Products Comparison Table
| Product Type | Best For | Avg. Cost (2026) | Eco-Friendly? | Dwell Time |
|---|---|---|---|---|
| Alkaline degreaser (pH 11–13) | Oil, grease, tar | $18–$35/gallon | Moderate | 10–20 minutes |
| Muriatic acid (diluted) | Rust, efflorescence, mineral | $12–$22/gallon | No | 5–10 minutes |
| Enzyme/bio-cleaner | Organic stains, algae, mold | $22–$45/gallon | Yes | 20–30 minutes |
| Oxygen bleach (sodium percarbonate) | General staining, mildew | $15–$28/gallon | Yes | 15–25 minutes |
| Trisodium phosphate (TSP) | Paint, heavy grease | $10–$18/lb | No | 10–15 minutes |
Note: TSP is restricted or banned in several U.S. states and Canadian provinces due to phosphate runoff regulations. Always verify local regulations before purchasing.
General Cleaning: Pressure Washing and Scrubbing
Think of general cleaning as your first pass — removing surface-level debris, biological growth, and loose contamination before you address specific stains. Skipping this step means your chemical treatments are fighting through a layer of grime before they even reach the actual stain.
Step-by-Step Pressure Washing Protocol
- Clear the area completely. Remove furniture, vehicles, potted plants, and any objects that could be damaged by pressure or chemical splash. Cover nearby garden beds and grass with plastic sheeting — even biodegradable cleaners can damage turf in concentration.
- Pre-wet the surface. This prevents your cleaning solution from drying too quickly and forces the concrete to accept the chemical treatment more evenly.
- Apply your general cleaner. For most outdoor concrete, oxygen bleach mixed at a ratio of 1 cup per gallon of warm water is an excellent starting point. Apply with a pump sprayer, working in sections of about 50 square feet.
- Allow dwell time. Let the solution sit for 15–20 minutes. You should see biological growth (algae, moss) begin to turn brown or yellow — a sign the treatment is working. Don’t let the solution dry completely; mist lightly if needed in direct sun.
- Scrub aggressively. Use a stiff deck brush in circular motions, paying extra attention to grout lines, expansion joints, and textured sections where dirt accumulates.
- Pressure wash with appropriate technique. Hold the wand at a consistent 45-degree angle, 12–18 inches from the surface. Use a 25-degree nozzle for most concrete. Move in smooth, overlapping passes to avoid streaking. Use the surface cleaner attachment for large open areas.
- Rinse thoroughly. Residual cleaning chemicals left on concrete can interfere with subsequent treatments and affect sealer adhesion. Rinse until runoff is completely clear.
Pro Tip: Always pressure wash with the slope of the surface, not against it. Working downhill pushes contaminated water away from treated areas rather than back over them. On flat surfaces, identify drainage direction first.
Stain-Specific Treatment Strategies
Here’s where precision matters. Each stain category has a chemistry profile, and matching your treatment to that chemistry is the difference between a clean surface and a frustrating repeat cycle of failed attempts.
Oil and Grease Stains
These are the nemesis of driveways everywhere. Fresh oil stains (less than 48 hours old) can often be absorbed with cat litter or baking soda, then swept up — removing 60–70% of the contamination before chemical treatment is even necessary. Old, set-in oil stains are another story.
Treatment approach: Apply a concentrated alkaline degreaser directly to the stain. Cover with plastic wrap to prevent evaporation and extend dwell time to 30–45 minutes. Scrub vigorously, then rinse. For stains older than six months, a poultice method works far better: mix the degreaser with an absorbent powder (talc or diatomaceous earth) to form a paste. Apply a ¼-inch thick layer over the stain, cover with plastic, and allow 12–24 hours for the paste to draw the oil back up through capillary action. This method can extract up to 85% of deeply embedded petroleum contamination, according to a 2024 study from the Portland Cement Association.
Rust Stains
Rust stains from metal furniture, pipes, or hardware are among the most visually dramatic and most mishandled. Many homeowners reach for bleach — which does absolutely nothing for iron oxide deposits. Rust requires an acidic treatment that converts or dissolves the iron compound.
Treatment approach: Oxalic acid (available in deck cleaner formulations) is the safest and most effective option for most residential rust stains. Mix a 10% solution, apply to the stain, and observe a color change from reddish-brown to a lighter, yellowish tone — indicating the chemical reaction is working. For severe rust, a diluted muriatic acid solution (1 part acid to 10 parts water — always add acid to water, never water to acid) can be used with extreme caution. Rinse immediately and thoroughly. Neutralize the surface with a baking soda and water solution before proceeding.
Case Study: A homeowner in Charleston, South Carolina had rust streaks running 6 feet across her pool patio from leaking copper downspouts. After two applications of oxalic acid cleaner at full strength with a 20-minute dwell time and aggressive scrubbing, 90% of the staining was eliminated. The remaining ghosting disappeared after a final treatment combined with power washing. Total product cost: under $35.
Organic Stains: Algae, Moss, and Mold
In humid climates, biological growth on outdoor concrete surfaces is almost inevitable. North-facing surfaces, shaded areas, and concrete near irrigated landscaping are particularly vulnerable. By 2026, several U.S. cities including Seattle, Portland, and Atlanta have reported increasing biological growth cycles due to shifting precipitation patterns — making this category of staining more relevant than ever.
Treatment approach: Sodium hypochlorite (household bleach) at a 10% dilution remains highly effective for surface biological growth. However, for deeper-set algae colonies and moss (which send root-like structures called rhizoids into porous concrete), enzyme-based biological cleaners outperform bleach in long-term results. Apply the enzyme cleaner, allow maximum dwell time, scrub thoroughly, and rinse. Follow up with a dedicated biocide product containing quaternary ammonium compounds — these create a residual antimicrobial effect that slows regrowth for 6–12 months.
Efflorescence (White Powdery Deposits)
Efflorescence is calcium carbonate deposited on the surface as water migrates through concrete and evaporates. It’s not structural damage, but it’s persistently ugly and often mistaken for paint or mold.
Treatment approach: Dry brushing removes fresh efflorescence effectively. For established deposits, diluted muriatic acid or a commercial efflorescence remover (citric or phosphoric acid-based) applied and scrubbed dissolves the calcium carbonate on contact. After treatment and rinsing, critically important: address the source of the water migration. Efflorescence is a symptom — usually poor drainage, inadequate sealing, or water infiltration from below. Without fixing the source, efflorescence returns reliably within one to two seasons.
Restoring Damaged and Weathered Concrete
Cleaning removes contamination. Restoration addresses the physical deterioration that years of weathering, freeze-thaw cycles, UV exposure, and de-icing salt use inflict on concrete surfaces. In 2026, the American Concrete Institute estimates that over 40% of residential driveways over 15 years old show some degree of surface scaling, spalling, or cracking that benefits from restoration treatment.
Repairing Surface Cracks and Spalling
Small cracks (less than 3mm wide) and surface spalling can be addressed with polymer-modified concrete repair mortars, which are now widely available at home improvement retailers for $15–$45 depending on coverage area. These products use flexible polymer compounds that accommodate slight concrete movement without re-cracking — a significant improvement over older rigid Portland cement patches that often failed at the edges within one to two seasons.
The critical success factor in crack repair is surface preparation: the repair area must be completely clean, free of loose material, and slightly damp (not wet) for proper adhesion. Use an angle grinder with a diamond blade to cut a V-shaped profile into the crack, undercut the edges slightly to create a mechanical key, vacuum thoroughly, pre-wet the repair zone, and apply the mortar per manufacturer instructions. Feather the edges smoothly and protect from direct sun for 24–48 hours during curing.
Using Concrete Resurfacers for Cosmetic Restoration
When cleaning reveals a surface that’s uniformly weathered, scaled, or pitted rather than dramatically cracked, a concrete resurfacer product is often the most cost-effective path to like-new appearance. These thin overlays (typically 1/8 to 1/4 inch) bond to the existing surface and provide a fresh, clean finish that can be textured to improve slip resistance.
Popular brands in 2026 include Quikrete’s Concrete Resurfacer, Sakrete Surface Coating, and newer spray-applied microtopping products that allow for decorative finishes including subtle color and texture variation. A complete driveway resurfacing typically costs $0.75 to $2.50 per square foot in DIY materials — a fraction of the $6–$12 per square foot cost of full concrete replacement.
Estimated Effort vs. Impact — Visual Overview
Restoration Method Effectiveness (Scale: 0–100%)
40%
68%
80%
92%
98%
Based on average surface appearance improvement ratings from homeowner surveys conducted in 2025.
Sealing and Protecting for Long-Term Results
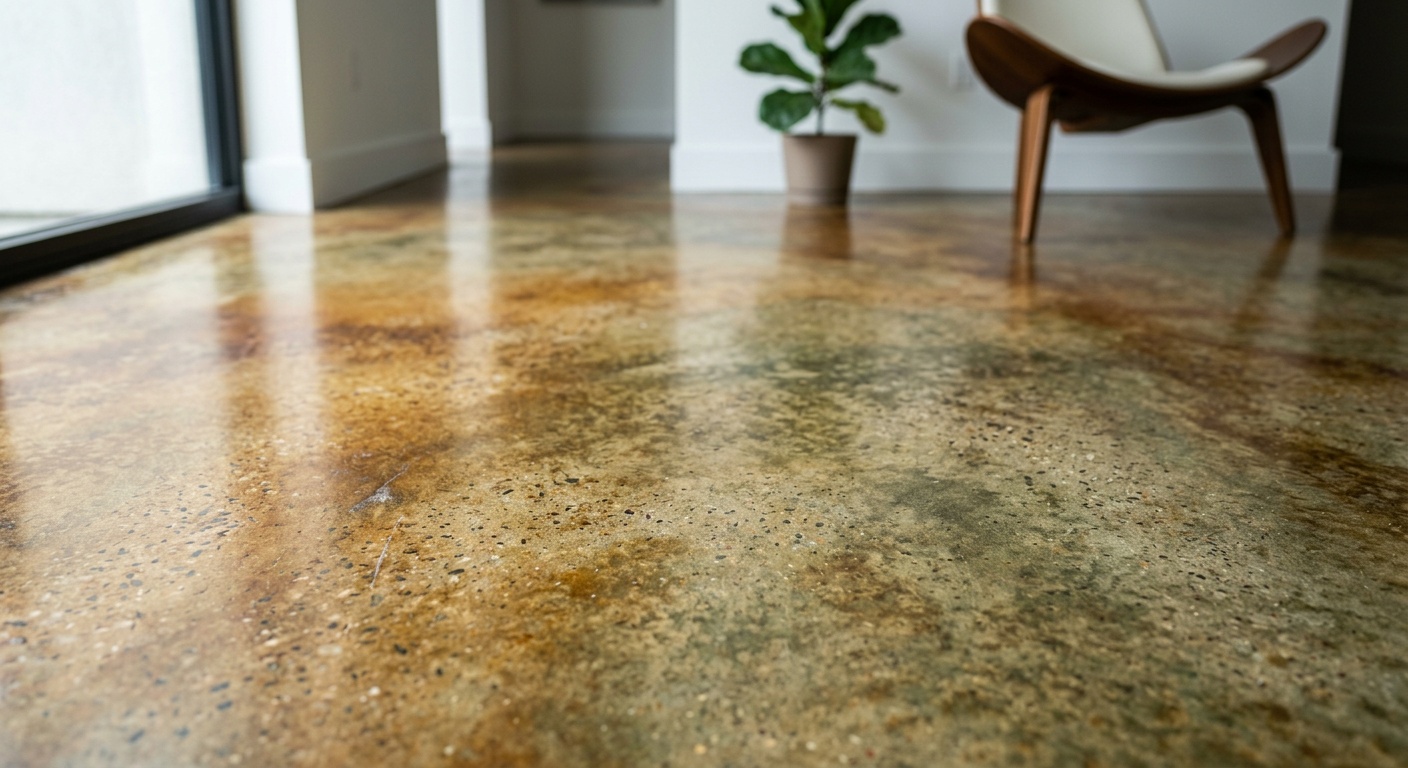
Here’s an uncomfortable truth: all the cleaning and restoration work you’ve done becomes significantly less durable without sealing. Unsealed concrete in outdoor environments begins re-absorbing stains within weeks of cleaning. A quality sealer extends the interval between major cleanings from one to two years to four to seven years, depending on traffic and climate.
Choosing the Right Sealer
The sealer category is broadly divided into penetrating sealers and topical (film-forming) sealers, and the choice matters enormously based on your surface type and goals:
- Penetrating silane/siloxane sealers: Absorb into the concrete matrix, providing water and stain repellency without changing the surface appearance. Ideal for natural-look preservation, slip-resistance maintenance, and surfaces with existing texture. Last 5–10 years. Cost: $0.10–$0.25 per square foot.
- Acrylic topical sealers: Form a protective film on the surface. Available in matte, satin, and high-gloss finishes. Enhance color and provide a “wet look” on decorative concrete. Last 2–4 years before recoating. Cost: $0.15–$0.35 per square foot.
- Polyurethane and epoxy sealers: Superior abrasion and chemical resistance. Best for high-traffic driveways or garage aprons. More complex application and higher cost ($0.40–$0.80 per square foot) but significantly longer service life.
Application Tip: Apply sealer only to completely dry concrete — minimum 24 hours after washing in warm weather, 48–72 hours in cool or humid conditions. Apply in thin, even coats using a low-nap roller (¼ inch) or pump sprayer. Two thin coats always outperform one heavy coat, which can trap air bubbles, peel, or create a cloudy white appearance called blushing.
Frequently Asked Questions
Can I use household bleach to clean all types of outdoor concrete stains?
Bleach (sodium hypochlorite) is effective specifically against organic stains — algae, mold, mildew, and some biological discoloration. It will not work on oil, grease, rust, or mineral stains. In fact, using bleach on rust stains can temporarily mask the problem while actually accelerating the oxidation process underneath. Always match your cleaning chemistry to your stain type. Oxygen bleach (sodium percarbonate) is a safer, more versatile alternative that works on both organic stains and general grime without the fume hazards or plant-damage risks of chlorine bleach.
How long after cleaning should I wait before applying a concrete sealer?
The rule of thumb is a minimum of 24 hours in warm, dry conditions (70°F+, low humidity), and 48–72 hours in cooler or humid environments. The concrete must be completely dry not just on the surface but throughout its depth — applying sealer over moisture-laden concrete traps water vapor, causing the sealer to peel, blister, or turn white within weeks. A simple moisture test: tape a 12×12 inch piece of plastic sheeting to the surface and leave it for 24 hours. If condensation appears underneath the plastic, the concrete is still too wet for sealing.
Is pressure washing safe for all outdoor concrete, or can it cause damage?
Pressure washing is safe for most outdoor concrete when used correctly, but several situations require caution. Older concrete (20+ years) that is already weakened or scaling can be further damaged by high-pressure water, particularly at close range or with narrow nozzles. Stamped concrete, exposed aggregate, and decorative overlays should be washed with pressure no higher than 1,500 PSI. Never use a 0-degree (red) nozzle on concrete — the concentrated stream can cut grooves, remove surface paste, and permanently damage the finish. A 25-degree (green) nozzle is appropriate for standard concrete, while a 40-degree (white) nozzle is safer for decorative or older surfaces.
Your Concrete Restoration Roadmap: Next Steps
You now have more targeted, practical knowledge about outdoor concrete restoration than most professionals share in a single resource. Let’s convert that into action. Here’s your implementation checklist — use it as a literal weekend project guide:
- ✅ Day 1, Morning: Conduct your four-point assessment. Photograph all stained areas and identify each stain type. Purchase the correct chemical treatments based on diagnosis — not guesswork.
- ✅ Day 1, Afternoon: Apply stain-specific chemical treatments. Allow full dwell times. Scrub aggressively. Rinse thoroughly. Let the surface dry overnight.
- ✅ Day 2, Morning: Pressure wash the full surface using proper technique. Assess results — determine whether additional chemical treatment rounds are needed for stubborn areas.
- ✅ Day 2, Afternoon: Perform crack and spalling repairs with polymer-modified repair mortar. Allow to cure per manufacturer guidance (typically 4–24 hours depending on temperature).
- ✅ Day 3: Apply concrete resurfacer if needed. Once fully cured (typically 24 hours), apply your chosen sealer in two thin coats, allowing the first coat to dry (1–2 hours) before the second.
The broader context here is worth noting: as extreme weather events become more frequent in 2026 and beyond — heavier freeze-thaw cycles in northern climates, intensified UV exposure in southern regions, and more aggressive rain events across the board — properly maintained and sealed concrete surfaces are measurably more resilient and cost significantly less over a 10-year horizon than neglected surfaces requiring full replacement.
Your outdoor concrete is an investment that frames your home’s curb appeal and functional living space every single day. The question isn’t whether it’s worth the effort to restore and protect it — it absolutely is. The real question is: how much longer are you willing to walk past that stained driveway before you take action?
This weekend might be the one where everything changes. Your restored concrete surface is closer than you think.