How to Repair Cracked Garage Floor Concrete Step by Step
How to Repair Cracked Garage Floor Concrete Step by Step
Reading time: 14 minutes
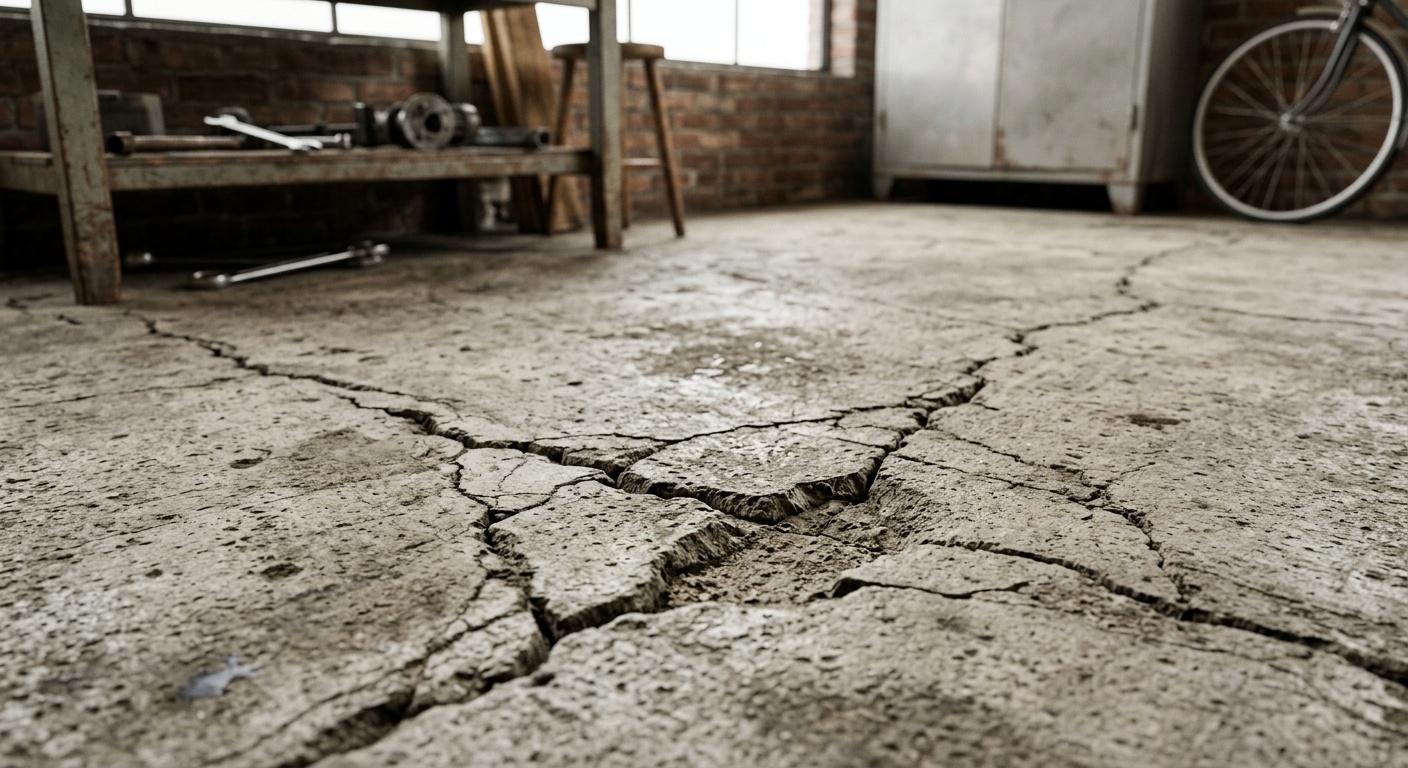
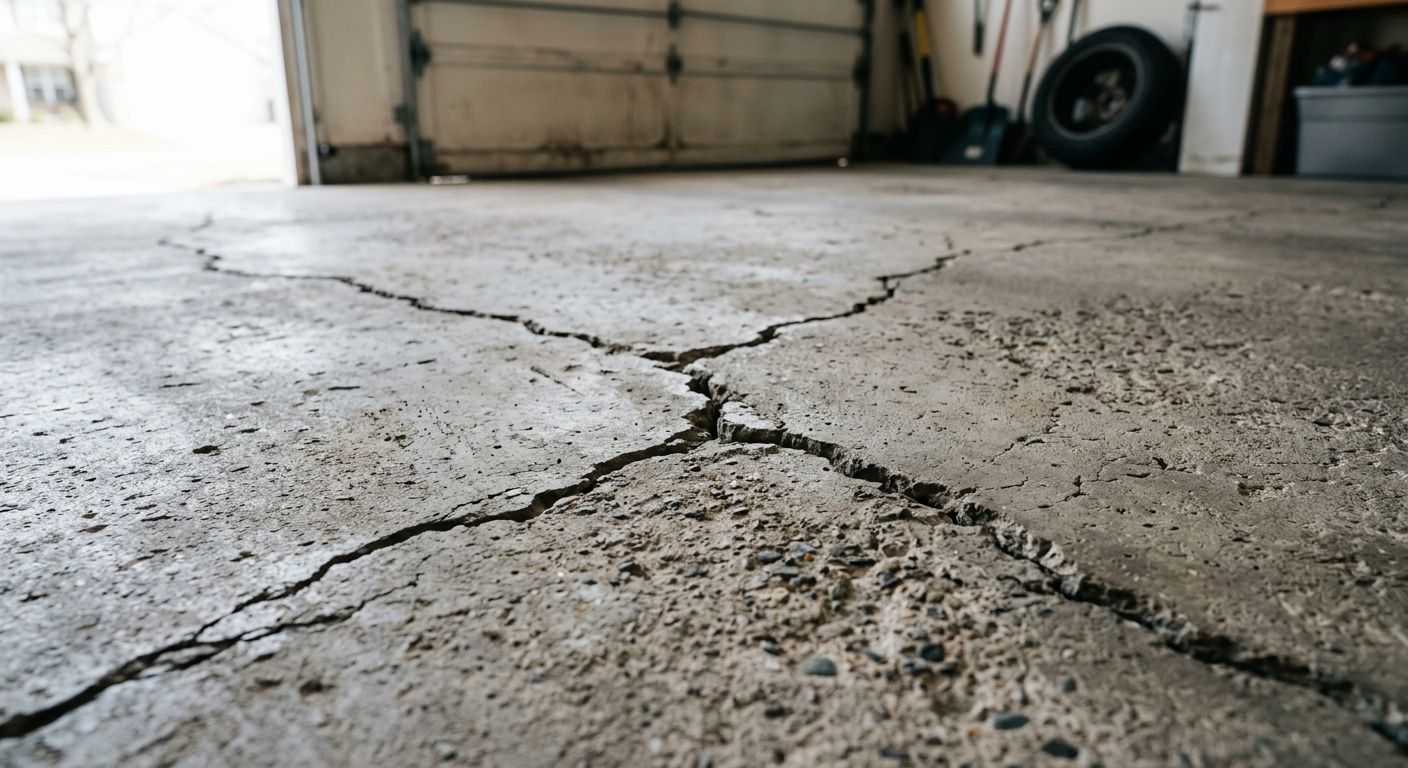
That hairline crack you spotted last spring? It’s probably not so hairline anymore. Garage floor concrete cracks are one of those home maintenance issues that feel minor until they absolutely aren’t — and by 2026, with freeze-thaw cycles intensifying across North America and material costs still elevated from supply chain disruptions, getting your repair right the first time matters more than ever.
Here’s the straight talk: most garage floor cracks are completely fixable by a motivated homeowner over a weekend. But the difference between a repair that lasts two years and one that lasts twenty comes down to diagnosis, preparation, and product selection. Let’s walk through every step together — no guesswork, no vague advice.
Table of Contents
- Understanding Why Garage Floors Crack
- Assessing the Damage: What Type of Crack Do You Have?
- Tools and Materials You’ll Need
- Step-by-Step Repair Process
- Choosing the Right Filler Product in 2026
- Common Mistakes and How to Avoid Them
- Long-Term Prevention Strategies
- Frequently Asked Questions
- Your Garage Floor: Sealed, Solid, and Future-Proofed
Understanding Why Garage Floors Crack
Before you grab a trowel, it pays to understand why the crack is there in the first place. Treating the symptom without addressing the cause is how you end up doing this repair again in eighteen months.
The Most Common Culprits
Concrete is remarkably strong under compression but surprisingly weak under tension. Garage floors are constantly subjected to forces that pull and push the slab in multiple directions. Here’s what’s usually responsible:
- Shrinkage during curing: Fresh concrete loses moisture as it cures, and that shrinkage creates internal stress. The Portland Cement Association estimates that concrete slabs can shrink by as much as 1/16 inch for every 10 feet of length during initial curing — and that movement has to go somewhere.
- Thermal expansion and contraction: In 2025, record temperature swings were recorded across the US Midwest and Canada, with daily temperature differentials exceeding 40°F in some regions. Each cycle expands and contracts your slab, widening existing cracks and creating new ones.
- Subbase settlement: If the soil or gravel beneath your slab wasn’t properly compacted during construction, it settles unevenly over time. This is the cause behind structural cracks — the ones you genuinely need to worry about.
- Heavy vehicle loads: The average pickup truck in 2026 weighs significantly more than its counterpart from 2010, with many popular models exceeding 5,500 lbs. A slab poured to older load standards may crack under modern vehicle weight, especially near entry points.
- Moisture intrusion and freeze-thaw damage: Water seeps into a micro-crack, freezes, expands by roughly 9% in volume, and mechanically widens the crack. Repeat for a few winters and that hairline becomes a canyon.
A Quick Case Study: The Johnson Garage in Minneapolis
Consider a practical example: In early 2025, a homeowner in Minneapolis discovered a 14-foot diagonal crack running from the center of his garage floor toward the side wall. His first instinct was to fill it with standard concrete caulk — a fix that failed within three months. When a structural assessment was finally done, it revealed the underlying clay subsoil had shifted significantly during the exceptionally wet spring of 2024. The real fix required mudjacking (slab lifting) followed by proper crack repair and sealing. Total cost: approximately $1,200. Had the root cause been identified first, the crack filler alone would have cost $35 and lasted far longer.
The lesson: Diagnosis first. Repair second.
Assessing the Damage: What Type of Crack Do You Have?
Not all cracks are created equal. Your repair strategy depends entirely on correctly categorizing the crack in front of you. Here’s a practical framework.
Crack Classification System
| Crack Type | Width | Characteristics | Severity | Recommended Fix |
|---|---|---|---|---|
| Hairline | Under 1/8 inch | Flat, uniform depth; no displacement | Low | Concrete sealer or epoxy injection |
| Structural (Wide) | 1/4 inch or more | May show vertical displacement between edges | High | Professional assessment + polyurethane foam injection |
| Control Joint Crack | Variable | Along intentional saw cuts; expected movement | Normal | Flexible backer rod + polyurethane sealant |
| Spalling/Surface | Wide but shallow | Flaking, pitting; no depth penetration | Medium | Concrete resurfacer compound |
| Settlement Crack | 1/8–1/2 inch | One side visibly higher or lower | Very High | Mudjacking/foam lifting + repair |
Quick test: Place a straightedge across the crack. If one side is higher than the other by more than 1/4 inch, you likely have a settlement issue that requires professional evaluation before any surface repair makes sense.
Tools and Materials You’ll Need
Preparation separates successful repairs from frustrating ones. Gather everything before you start — mid-repair supply runs kill momentum and can cause errors when working with time-sensitive materials.
Essential Toolkit
- Safety gear: Safety glasses, nitrile gloves, N95 dust mask (concrete dust contains crystalline silica — serious lung hazard)
- Angle grinder or oscillating tool with a diamond blade for widening hairline cracks into a V-groove
- Wire brush and stiff-bristle brush for debris removal
- Shop vacuum — critical for removing all loose material
- Pressure washer or garden hose for cleaning (optional but recommended)
- Concrete crack filler (product choice depends on crack type — see Section 5)
- Caulking gun for tube-format products
- Margin trowel and putty knife for spreading and feathering
- Backer rod (foam rope) for deep or wide cracks
- Concrete bonding agent for repairs over 1/4 inch wide
- Concrete sealer for final protection
Budget tip: In 2026, a complete DIY crack repair kit for a standard 2-car garage typically runs between $85 and $220 depending on crack severity, compared to professional repair quotes averaging $450–$1,800 for the same scope. The math on going DIY is compelling for non-structural damage.
Step-by-Step Repair Process
Here’s the heart of the guide. Follow these steps in sequence — skipping any step is the #1 reason repairs fail prematurely.
Step 1: Clear the Area and Ensure Ventilation
Move all vehicles, storage items, and equipment out of the garage. Open all doors and windows. If you’re using epoxy or polyurethane products, proper ventilation isn’t optional — many emit VOCs that concentrate quickly in enclosed spaces. A box fan pushing air outward through a side door works well.
Step 2: Clean the Crack Thoroughly
This is arguably the most important step. Any loose concrete, dirt, oil, or debris left in the crack will prevent the repair material from bonding properly. Here’s the process:
- Use your wire brush to vigorously scrub out all loose material from the crack’s interior.
- Vacuum the crack with the shop vac’s narrow attachment — get every particle out.
- If there’s oil contamination near the crack (common near the vehicle parking area), clean with a concrete degreaser and rinse thoroughly. Allow 24–48 hours of drying time before proceeding.
- For best adhesion, lightly mist the crack interior with water so it’s damp but not wet. This is especially important for cementitious repair products.
Step 3: Widen Hairline Cracks into a Working V-Groove
Counter-intuitively, you need to make a hairline crack bigger before you can repair it. A crack that’s too narrow (under 1/8 inch) won’t hold filler adequately — it’ll flex out within months.
Using your angle grinder with a diamond blade, cut a V-shaped groove along the crack approximately 1/4 inch wide and 1/4 inch deep. The V-profile gives the filler mechanical “purchase” in the concrete. Vacuum the groove thoroughly afterward.
Safety reminder: This step generates fine silica dust. Wear your N95 mask — no exceptions.
Step 4: Install Backer Rod for Deep or Wide Cracks
For cracks deeper than 1/2 inch, filling the entire depth with crack filler is wasteful and technically inferior. Instead, pack a foam backer rod (available at any hardware store in diameters from 1/4 to 1 inch) into the crack to within about 1/4 inch of the surface. This gives the filler proper support and prevents it from sinking.
Choose a backer rod that’s slightly wider than the crack — it should compress slightly as you press it in, creating a snug fit.
Step 5: Apply Your Crack Filler
Now comes the material. Application technique varies by product type:
- Self-leveling polyurethane sealant (caulk tube): Cut the tip at a 45° angle to match crack width. Apply in a steady, continuous bead. It self-levels into horizontal cracks without tooling.
- Two-part epoxy injection: Mix per manufacturer instructions (ratio is critical). Apply using a dual-cartridge caulking gun. Work from one end of the crack to the other in one continuous pass.
- Cement-based patching compound: Mix to a peanut butter consistency. Pack firmly into the crack with a margin trowel, pressing hard to eliminate air voids. Overfill slightly above the surface level.
- Concrete resurfacer (for spalling): Mix with water per instructions and spread with a squeegee across the affected area, feathering edges to blend with surrounding concrete.
Step 6: Tool and Finish the Surface
For cementitious compounds that were overfilled, use a margin trowel or putty knife to strike off the excess once the material stiffens slightly (usually 10–20 minutes). Feather the edges so there’s no lip or ridge that could catch vehicle tires or collect water.
For texture matching — important if you plan to seal or coat the floor — you can lightly press a piece of burlap or an old paintbrush against the surface while it’s still workable to replicate the surrounding concrete texture.
Step 7: Allow Full Cure Time
This is where impatience destroys good work. Follow the manufacturer’s cure times precisely:
- Polyurethane sealants: Typically 24 hours before foot traffic, 72 hours before vehicle traffic
- Two-part epoxy: 24–72 hours depending on ambient temperature (cures faster in warmth)
- Cement-based compounds: Minimum 24 hours, but 7 days for full strength
- Concrete resurfacer: 24 hours for foot traffic, 72 hours for vehicles
In cooler climates (below 50°F), add 50% to all cure times. In 2026, if you’re doing this repair in early spring or late fall in northern regions, plan accordingly.
Step 8: Apply a Protective Concrete Sealer
Once your repair has cured, applying a quality concrete sealer over the entire floor (not just the crack) is the single best thing you can do for long-term durability. Sealer prevents moisture penetration — which is the number one cause of new crack formation and re-cracking at repair sites.
Apply sealer with a roller or pump sprayer in two thin coats, allowing the first coat to dry before applying the second. Penetrating silane-siloxane sealers are currently the industry preference in 2026 for garage applications — they don’t change the floor’s appearance or create a slippery surface.
Choosing the Right Filler Product in 2026
The concrete repair product market has evolved significantly. Here’s a data visualization showing the performance ratings of the most commonly used crack repair product categories based on independent contractor surveys conducted in early 2026:
Crack Repair Product Performance Ratings (2026 Contractor Survey)
*Based on overall satisfaction scores including durability, ease of application, and longevity ratings from 340 contractors surveyed Q1 2026.
The takeaway from this data is clear: standard concrete caulk — the most commonly purchased product by first-time DIYers — consistently underperforms. If you’re investing time in this repair, spend a few extra dollars on a proper polyurethane or epoxy solution.
Common Mistakes and How to Avoid Them
Learning from others’ errors is one of the most efficient things you can do. These are the pitfalls that send homeowners back to the hardware store — or worse, call a professional to fix a failed DIY attempt.
Mistake 1: Skipping Surface Preparation
The most common failure point, hands down. Repair materials need a clean, sound substrate to bond to. Oil-contaminated or dusty surfaces create a release layer between the concrete and the filler — the repair looks fine initially but peels or crumbles within a season.
Fix: Never rush the cleaning phase. If there’s any doubt about surface cleanliness, clean it again. A 10-minute investment in prep prevents a complete redo.
Mistake 2: Repairing Structurally Compromised Slabs Without Addressing the Root Cause
As illustrated in the Minneapolis case study earlier, patching a crack caused by subbase settlement is temporary at best. The slab will continue to move, and the repair will open back up — often along the exact same crack line.
Fix: If you notice vertical displacement across the crack (one side higher than the other), or if the crack is wider than 1/2 inch, get a structural assessment before spending money on materials. A structural engineer consultation typically costs $300–$600 in 2026 and can save thousands in repeated repair cycles.
Mistake 3: Applying Repair Materials in Adverse Conditions
Temperature and humidity significantly affect how concrete repair products cure. Applying a cement-based product when temperatures are below 40°F can cause it to freeze before curing. Applying epoxy in high humidity (above 85%) can inhibit proper curing. And applying any repair material to a wet crack — even slightly damp — dramatically reduces adhesion.
Fix: Check both the ambient temperature and the concrete surface temperature (a cheap infrared thermometer works great here). Most products specify 50°F–90°F as the acceptable application range. Plan your repair window accordingly.
Long-Term Prevention Strategies
Once you’ve repaired your garage floor, keeping it in good condition is largely a matter of consistent, simple maintenance. Think of it as protecting your investment rather than waiting for the next crisis.
Seal Your Floor Regularly
A quality penetrating sealer applied every 3–5 years is the single most effective preventive measure you can take. Sealers block moisture infiltration — the primary driver of freeze-thaw crack expansion. According to the Concrete Foundations Association, properly sealed concrete floors show a 60–70% reduction in crack propagation compared to unsealed surfaces over a 10-year period.
Control What Goes on the Floor
- Avoid de-icing salts near garage floor entry areas — they accelerate spalling and micro-cracking dramatically. Sand or cat litter are safer alternatives for traction in winter 2026.
- Clean up oil spills promptly. Oil penetrates unsealed concrete and weakens the surface layer over time.
- Use rubber wheel chocks rather than metal ones to protect the surface under vehicle tires.
Monitor and Catch Early
Make a simple habit: during your annual spring garage cleanout, get low and visually scan the floor surface. Look for new hairline cracks, areas where old repairs are separating, or any changes in drainage patterns (water pooling where it didn’t before can signal slab movement). Catching a 1/8-inch crack in April is a $30 fix. Letting it become a 3/4-inch crack by November is a $500 problem.
Frequently Asked Questions
Can I park my car in the garage while the crack repair is curing?
No — and this is a common cause of repair failure. Most repair materials require a minimum of 72 hours before being subjected to vehicle weight, and some cement-based products need up to 7 days for adequate strength. Driving over a partially cured repair compresses and displaces the material before it has bonded fully, causing it to crack, crumble, or separate from the edges. Check the specific product instructions and add extra time in cool or humid conditions.
My crack keeps coming back in the same spot every year — what’s going on?
Recurring cracks almost always indicate an active underlying movement issue — typically subbase settlement, drainage problems directing water beneath the slab, or a control joint that needs to be treated as a flexible joint rather than filled with rigid material. The fix is to identify and resolve the root cause, then use a flexible polyurethane sealant (rather than a rigid epoxy or cementitious product) for the crack itself, allowing for continued movement without re-cracking the repair. In persistent cases, a professional soil and drainage assessment is the most cost-effective next step.
How do I know if a crack is serious enough to require a professional?
Three indicators warrant professional evaluation: (1) The crack shows vertical displacement — one side of the crack sits measurably higher than the other, suggesting slab movement. (2) The crack is wider than 1/2 inch anywhere along its length. (3) The crack is actively growing — mark its endpoints with pencil and date, then check again in 2–4 weeks. If it’s extended or widened, you have an active structural issue. These scenarios don’t necessarily mean catastrophic failure, but they do require more than surface-level repair to achieve a lasting result.
Your Garage Floor: Sealed, Solid, and Future-Proofed
Here’s your practical action roadmap — everything distilled into a clear sequence you can start this weekend:
- Diagnose before you buy anything. Walk your floor, classify your crack type using the table in Section 2, and check for vertical displacement. Spend 15 minutes here and save hours of wasted effort.
- Gather your materials completely — don’t start a repair and then run to the hardware store mid-process. Temperature-sensitive materials and open crack channels don’t wait well.
- Prioritize preparation over product. The best epoxy on the market fails in a dirty crack. The cleaning phase is your highest-ROI step.
- Respect cure times.** This is where patience pays dividends. Block off your garage for the full manufacturer-specified window, especially if temperatures are on the cooler side.
- Seal and schedule a follow-up inspection for 12 months out. Mark it in your calendar right now. A one-hour annual inspection prevents multi-day repair projects.
In 2026, with homes representing the largest financial asset most families own, proactive concrete maintenance isn’t just a weekend project — it’s financial stewardship. A well-maintained garage floor also directly supports home resale value; current real estate data shows buyers placing increasing emphasis on garage condition as remote work has elevated home workspace expectations.
Here’s the question to carry with you: When you look at your garage floor today, are you seeing a problem — or an opportunity to protect and strengthen one of your most valuable assets? The crack you repair this weekend might be the one that saves your slab from a $3,000 replacement in five years. Ready to get started?